Graded Quizzes in Axis LMS

Graded Quizzes can be as simple or elaborate as you need. They offer the greatest amount of customizability, both visually and programmatically. And when combined with your Course Section and Subsection settings, can act as an excellent gauge of your users’ Course comprehension.
How to Make a Graded Quiz
To create a Graded Quiz, you’re going to need some Questions and Slides to populate it with. This can be done on the fly when adding content to a Course; or prepared in advance by following this article.
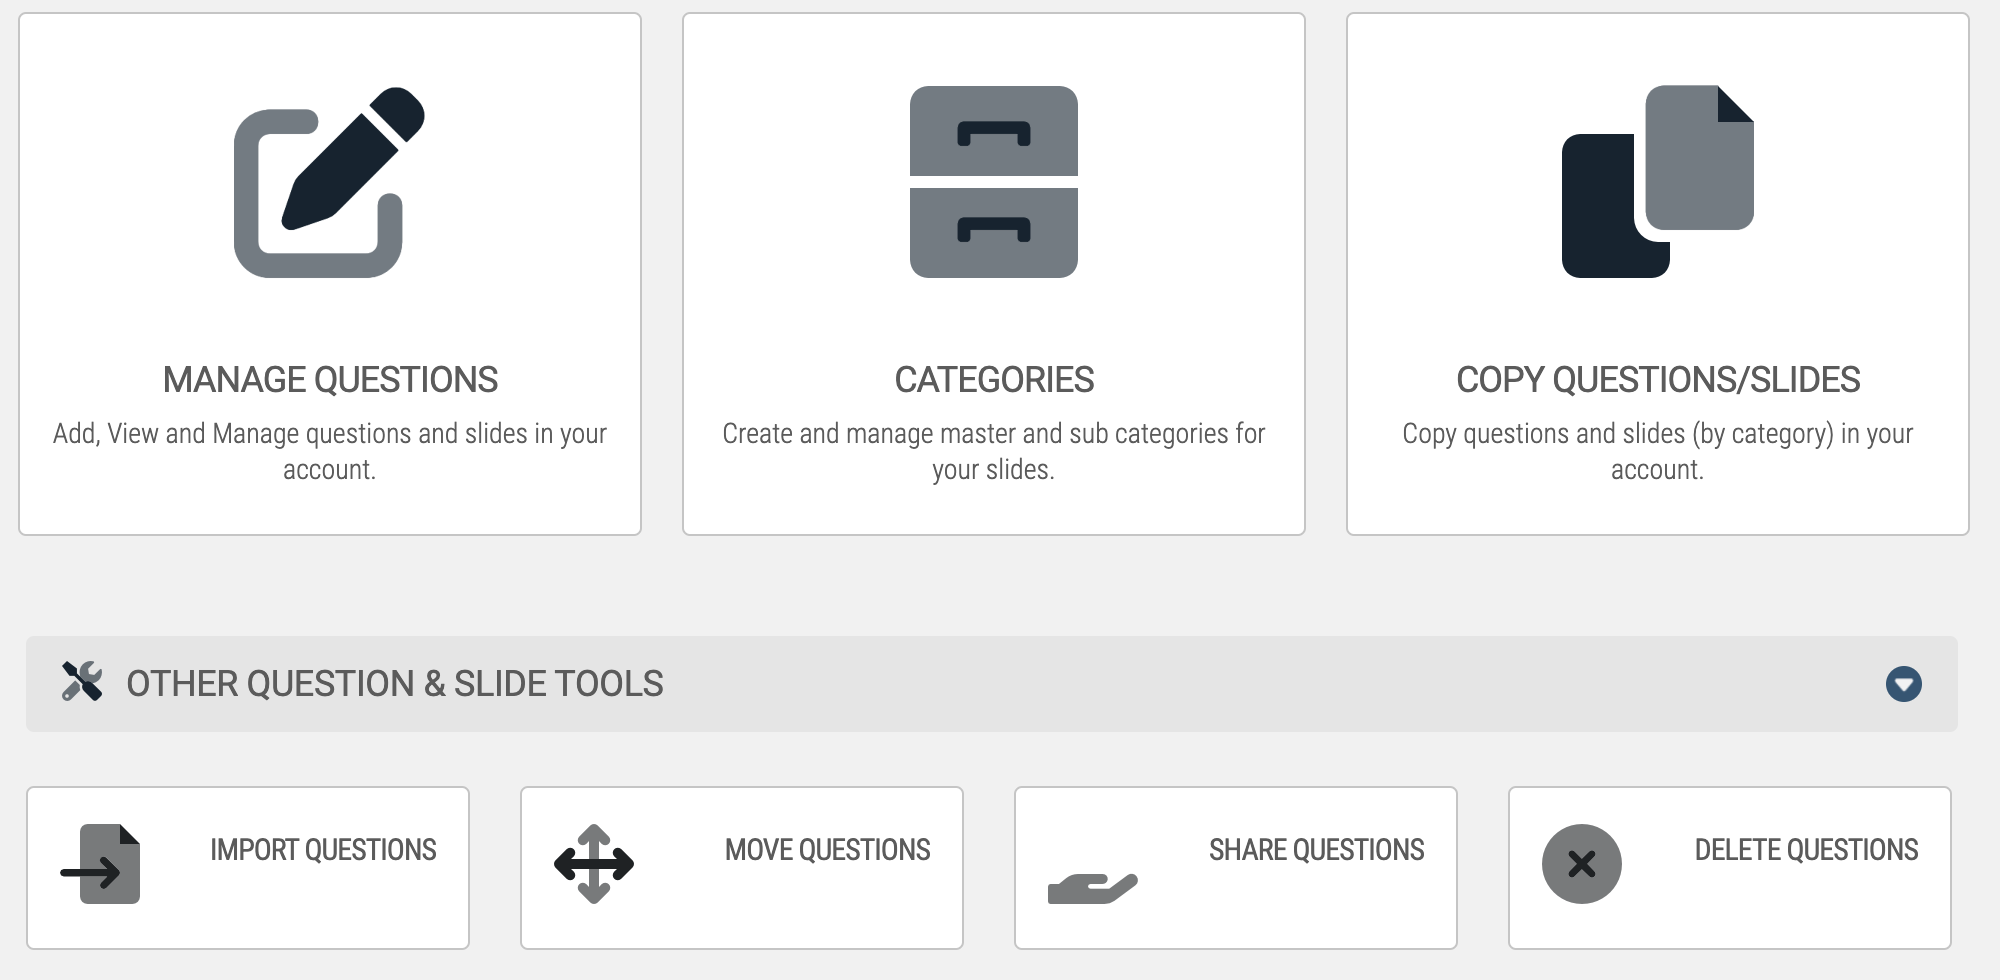
This article covers how to import slides, but if you’re creating them from scratch, here’s a quick overview ...
Learning > Online Courses > Learning Objects > Slide Bank
Head to your Learning tab, then drill down into Online Courses, Learning Objects, then finally Slide Bank. Add a New Slide, then select the type of Slide you want to create. Use either the HTML or Design editor to type in your question, then mark your correct answer and add the slide to a category.
Repeat this as necessary until you’ve created enough slides to populate your new quiz. You can add videos, images, math symbols, among other media using the Design Editor.
After you’ve created the Questions and Slides for your Quiz, you’ll want to head back to manage your Learning Objects, then create a New Graded Quiz.
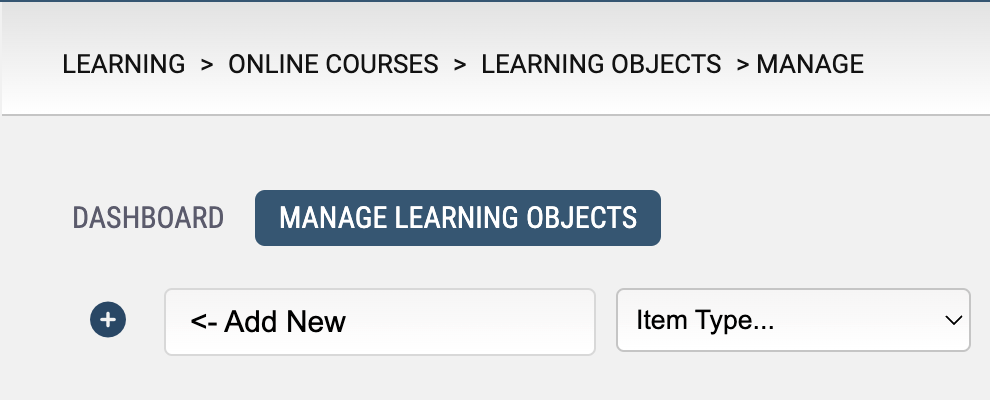
After giving the quiz a name, use a combination of the Magic Wand tool, and individual slides to create your quiz.
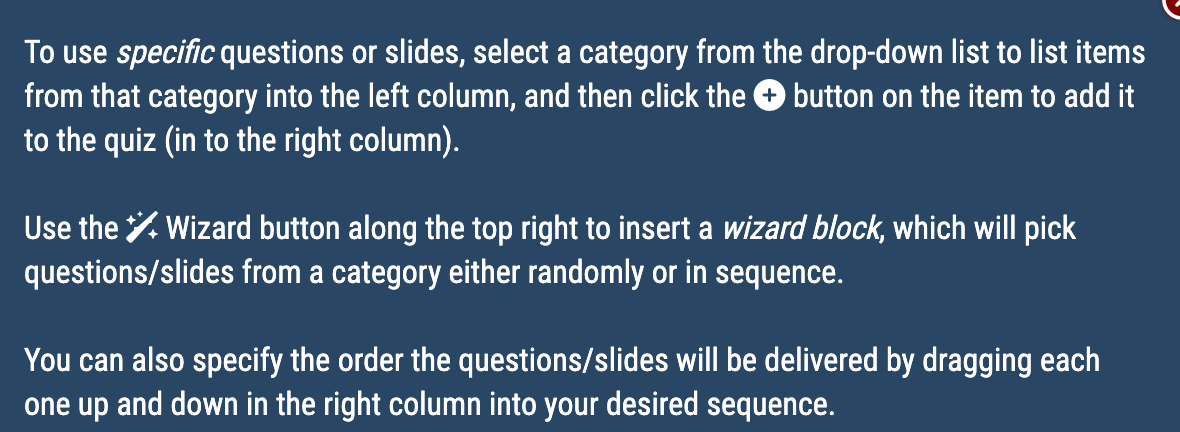
The Magic Wand selects a set number of slides from a Category you select. It is best used when you want to quickly add a large number of slides from a particular category.
You can select individual slides by selecting their category from the dropdown on the left. The left column should populate with that category’s slides, which you can selectively drag over into the right column.
In the example below, there are two Wizard Blocks, and two Informative slides. By toggling on Variations, every User who opens this quiz will see the same slides "the following will test your understanding of X", but the slides created and delivered as part of the Wizard Blocks will vary from user to user.
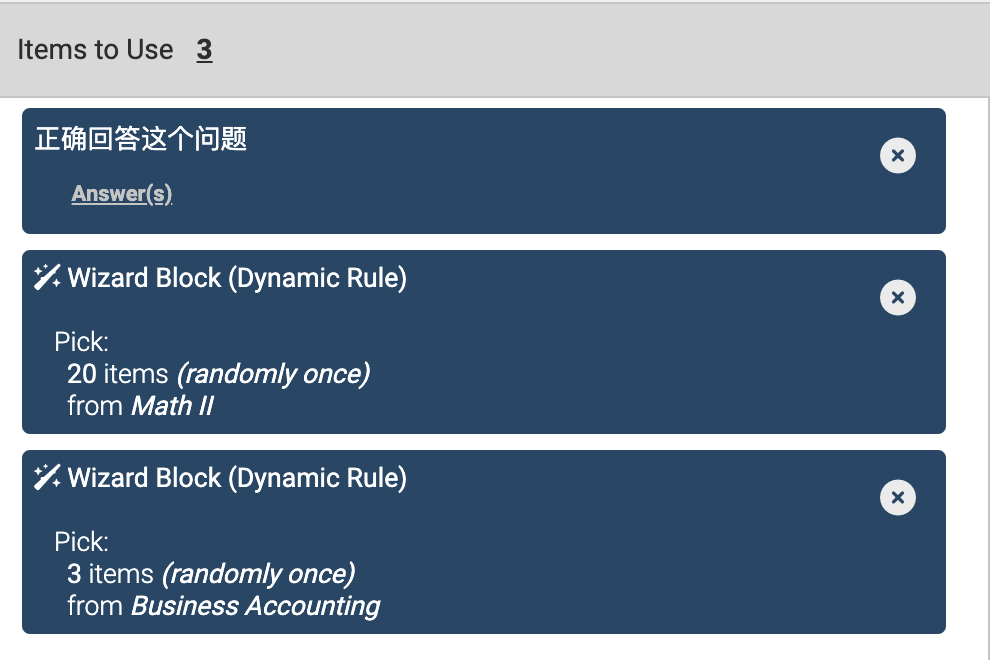
Or, if you’d like every user to receive the same questions as another user who opens the quiz, make sure you’ve toggled off variations

After you’ve added the slides and given the module a name, you can Publish the quiz, and it’s ready to be used in your courses.
Adding to a Course
This article goes into more detail on the layout and display of your Course pages, but as a quick overview ...
Learning > Online Courses > Manage Courses > Course Content > Add Content to your Subsection > Submit Changes
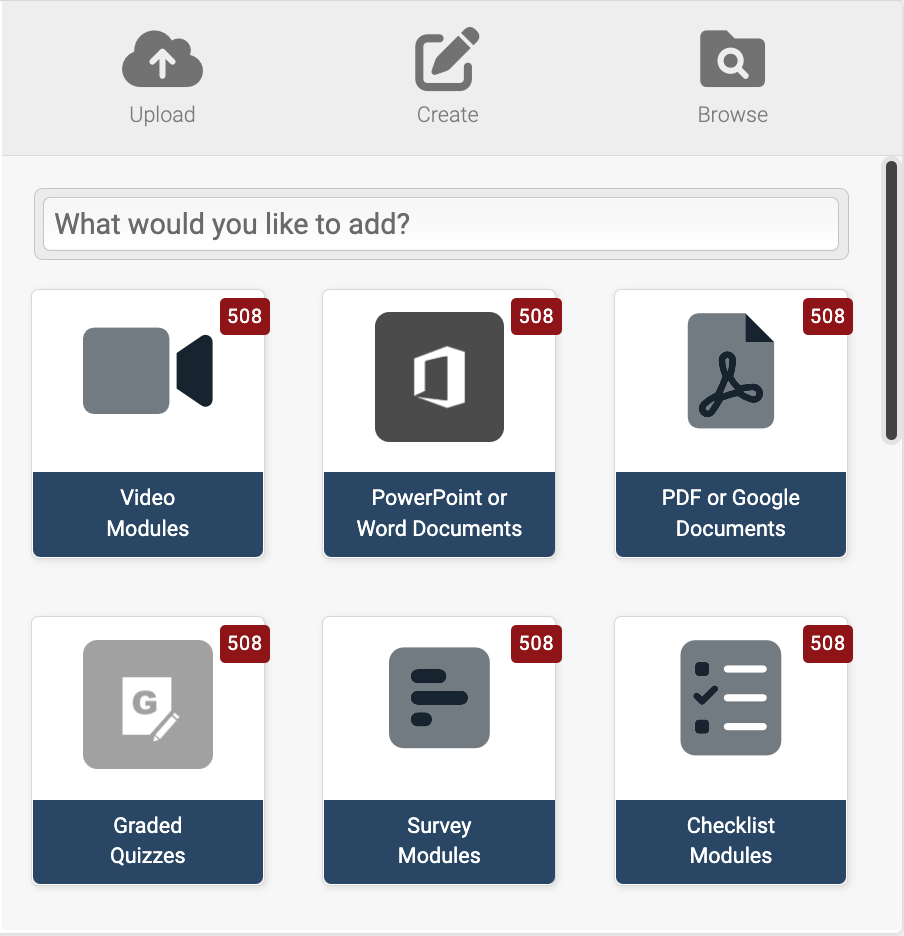
Graded Quiz Settings
Your Graded Quiz has been created, and your users may already have access to it. But if you’re not satisfied with how it displays, how users progress through it, or there’s some functionality you’re not happy with, you may want to investigate the Graded Quiz’s settings.
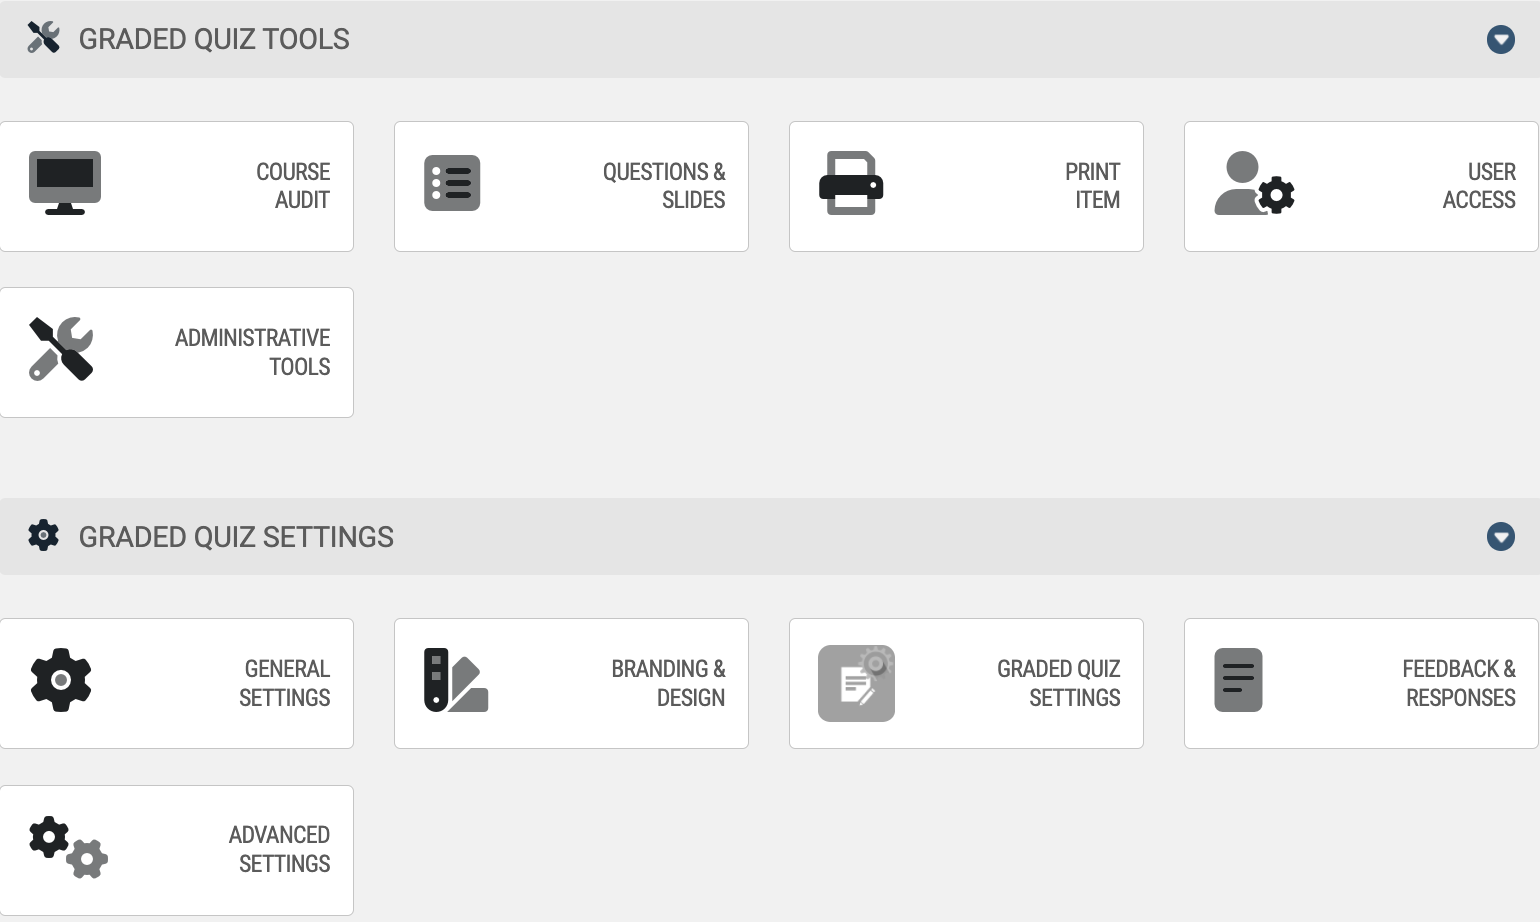
There are 4 different settings that most admins will want to grow familiar with: General Settings, Branding & Design, Graded Quiz Settings and Feedback & Responses.
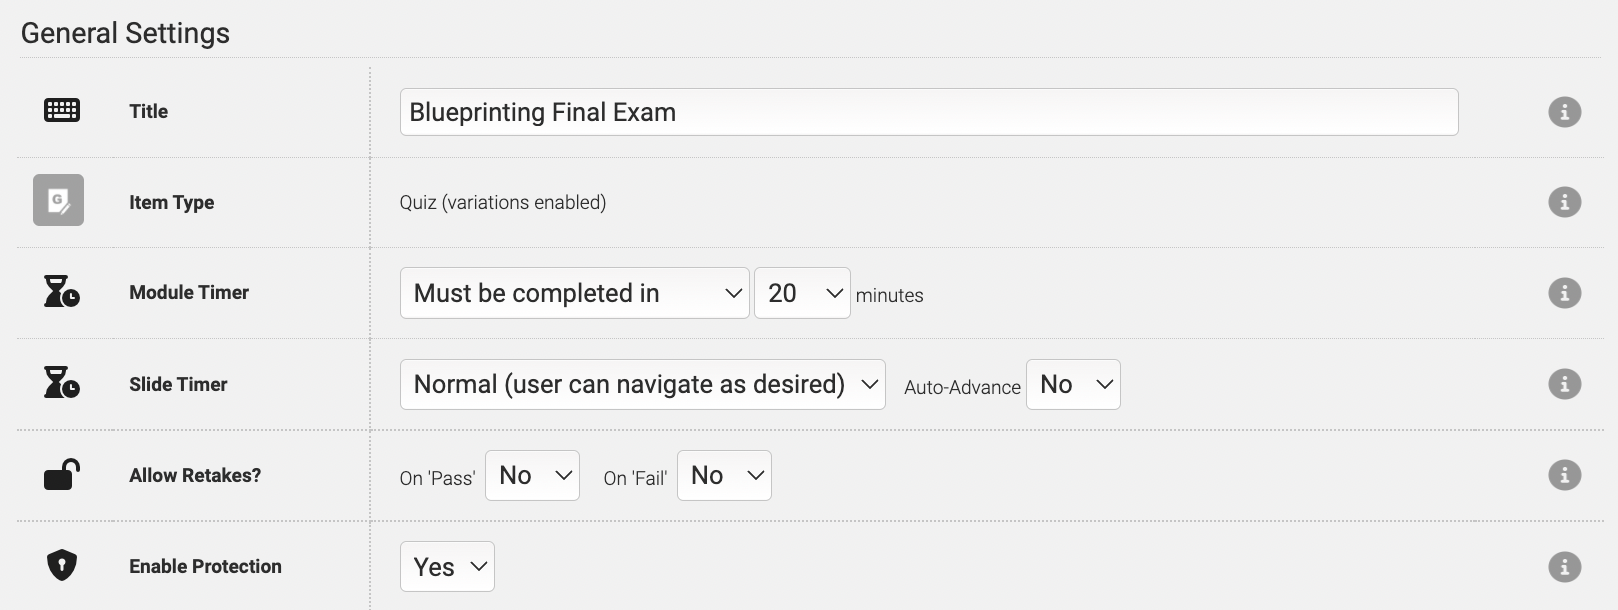
Opening up the General Settings gives you the ability to change the display name of the quiz (what your user sees), as well as add times to the module and/or slides, automatically move users through the quiz, prevent/enable retakes based on a user’s status, and toggle on some different protective measures that makes it more difficult for your users to copy your content.
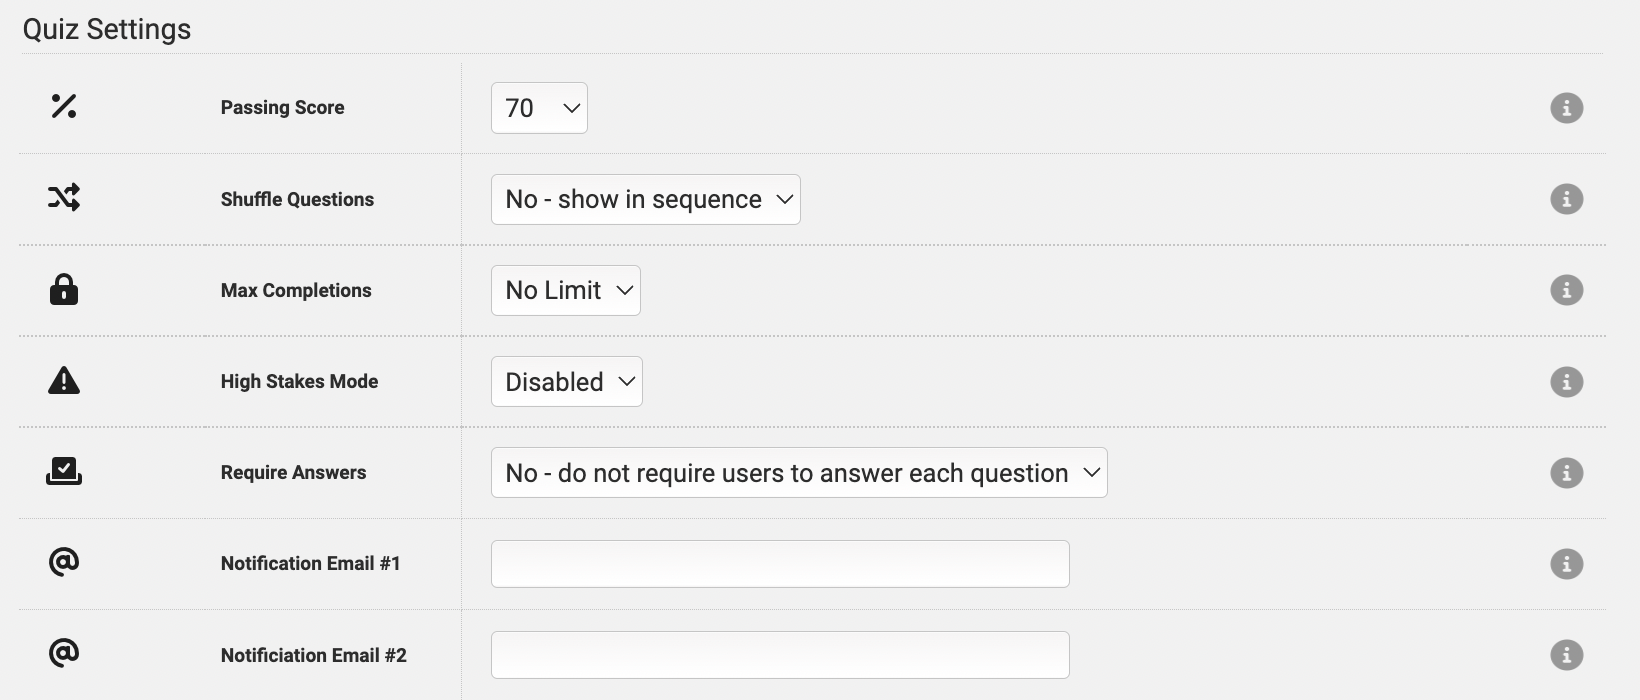
From this page, you can enable High Stakes Mode on a Quiz by Quiz basis. High Stakes mode is exactly what it sounds like - there’s no room for error or mishaps on the user’s side. When High Stakes mode is enabled, the quiz cannot be paused or resumed - if a user does not submit the quiz, they will not be able to re-open it. This means that if the module is closed for any reason other than submitting - including power outages, lapse in internet service, etc - the module will not be able to re-opened. Once the module is submitted, the max completion and other access rules will take effect.
Also on the Graded Quiz Settings page, you’re able to set up email addresses and your Quiz Certificate. There are two fields for email addresses: the primary and the secondary. When a user completes this module, these addresses will be emailed the Admin Email Template. By default, the Primary email address will be the Partition Admin’s email, and the Secondary email will be blank; but both can be easily overwritten.
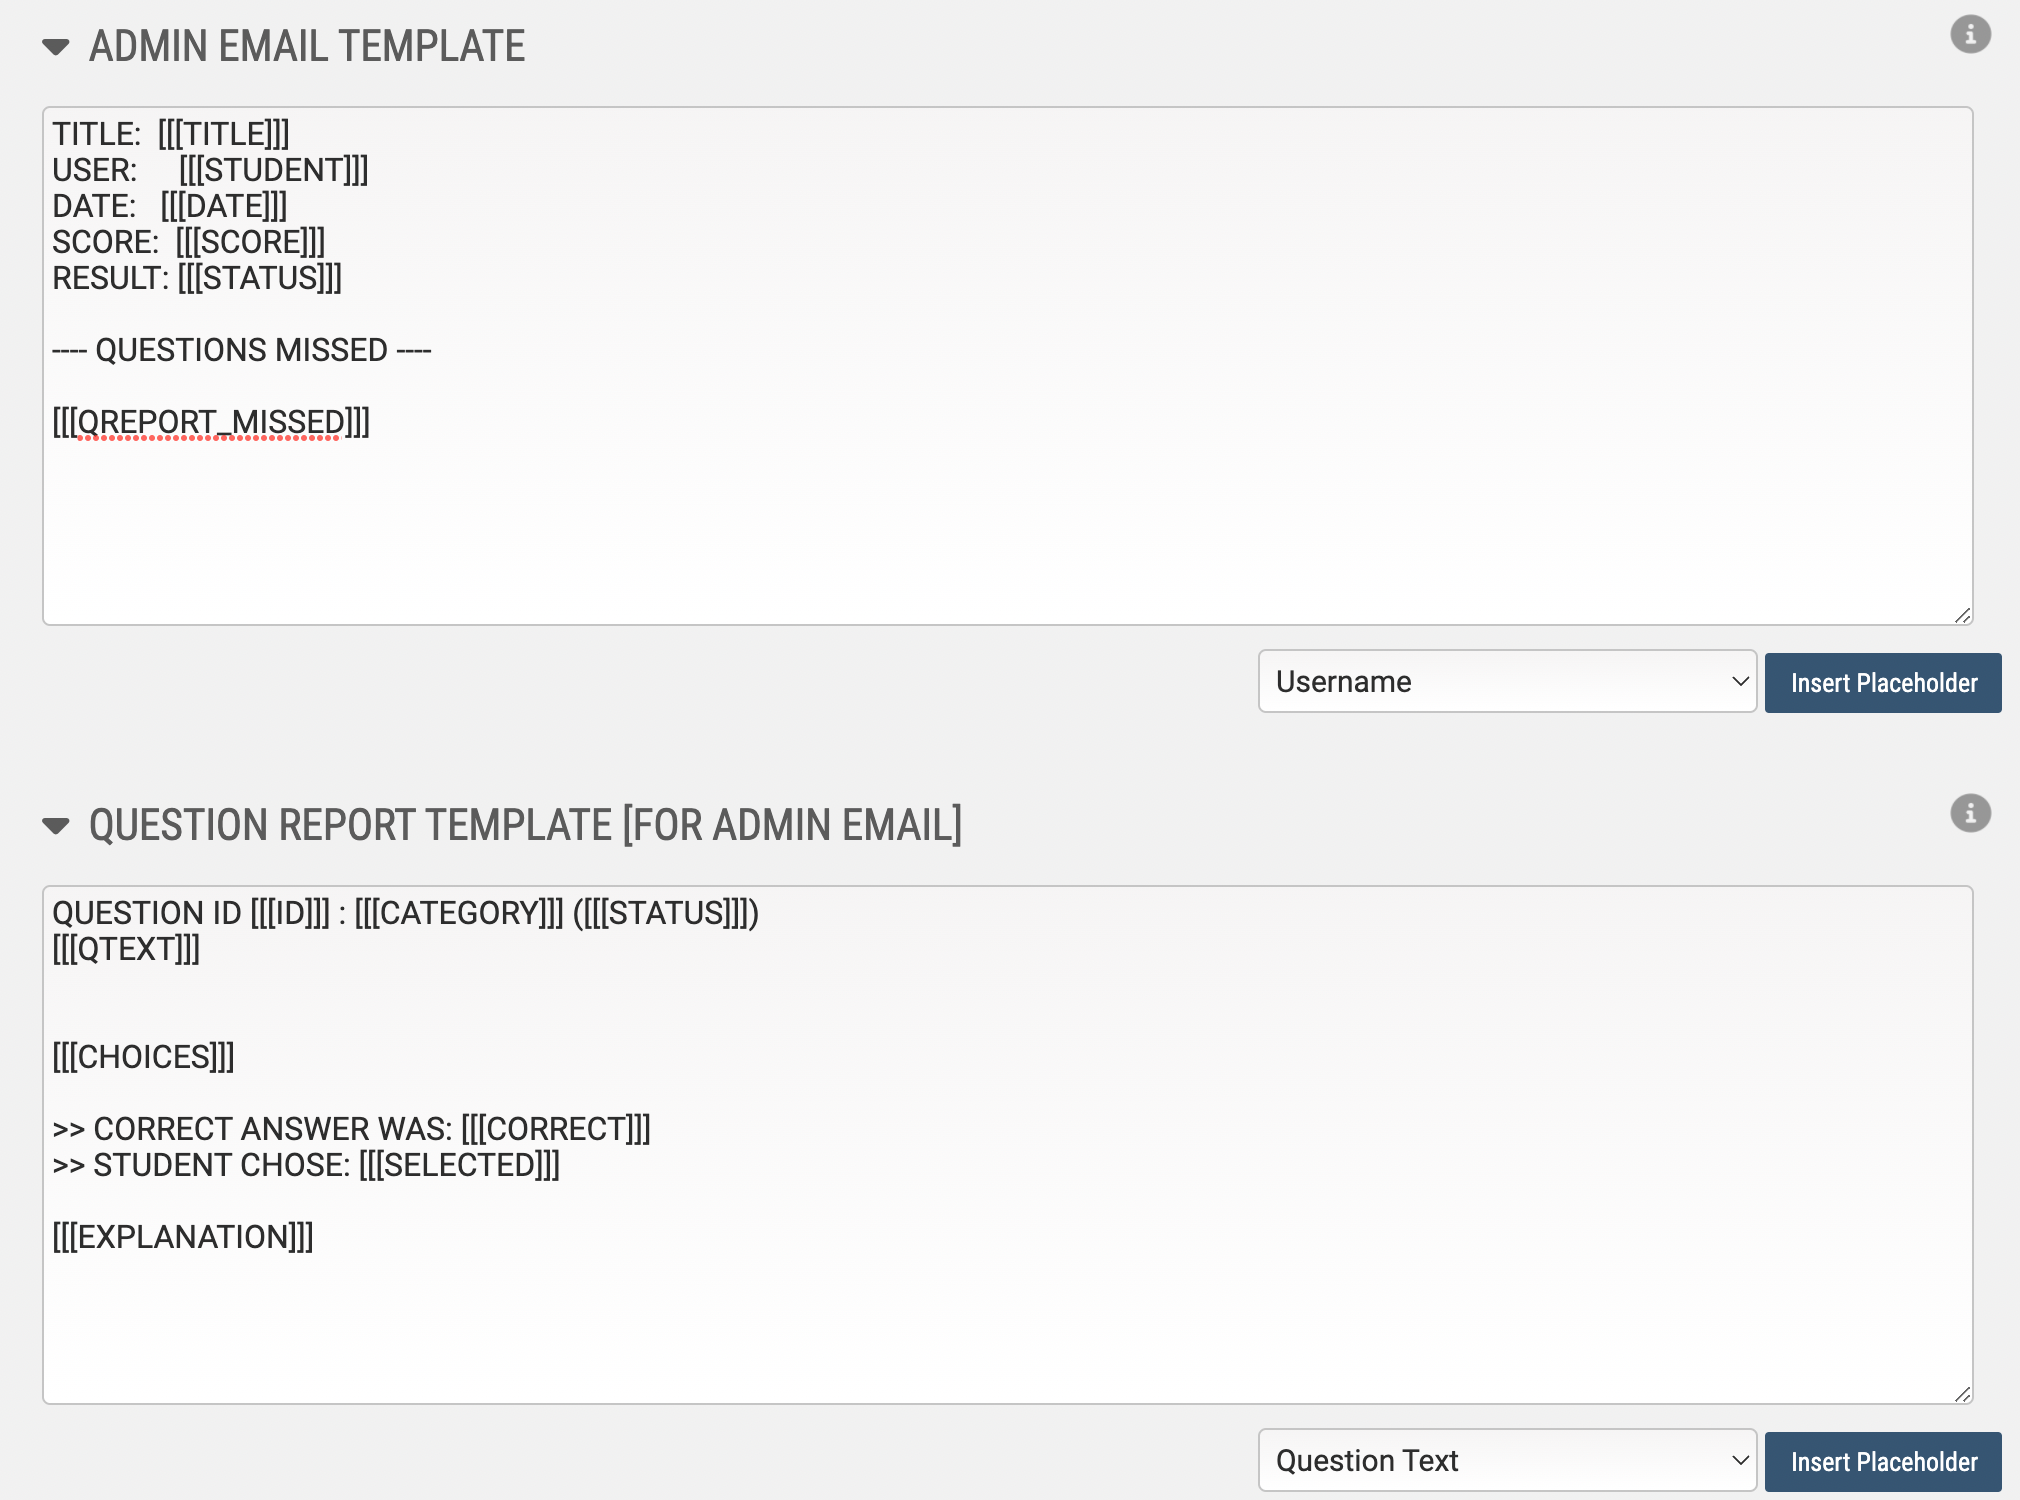
This template can also be edited and updated with placeholders as desired for more or less information.
There is also a User version of these same emails further down the page, which can be edited independently of the Admin emails so that Users can receive an email with more or less info (for example, you may only want to show the user the answer choice they selected; not the correct answer).
Graded Quiz Certificates
Quiz certificates are not used often - the course certificates are more configurable and easier to work with. However, if you have a need to use certificated specific to a quiz, you can certainly do so.
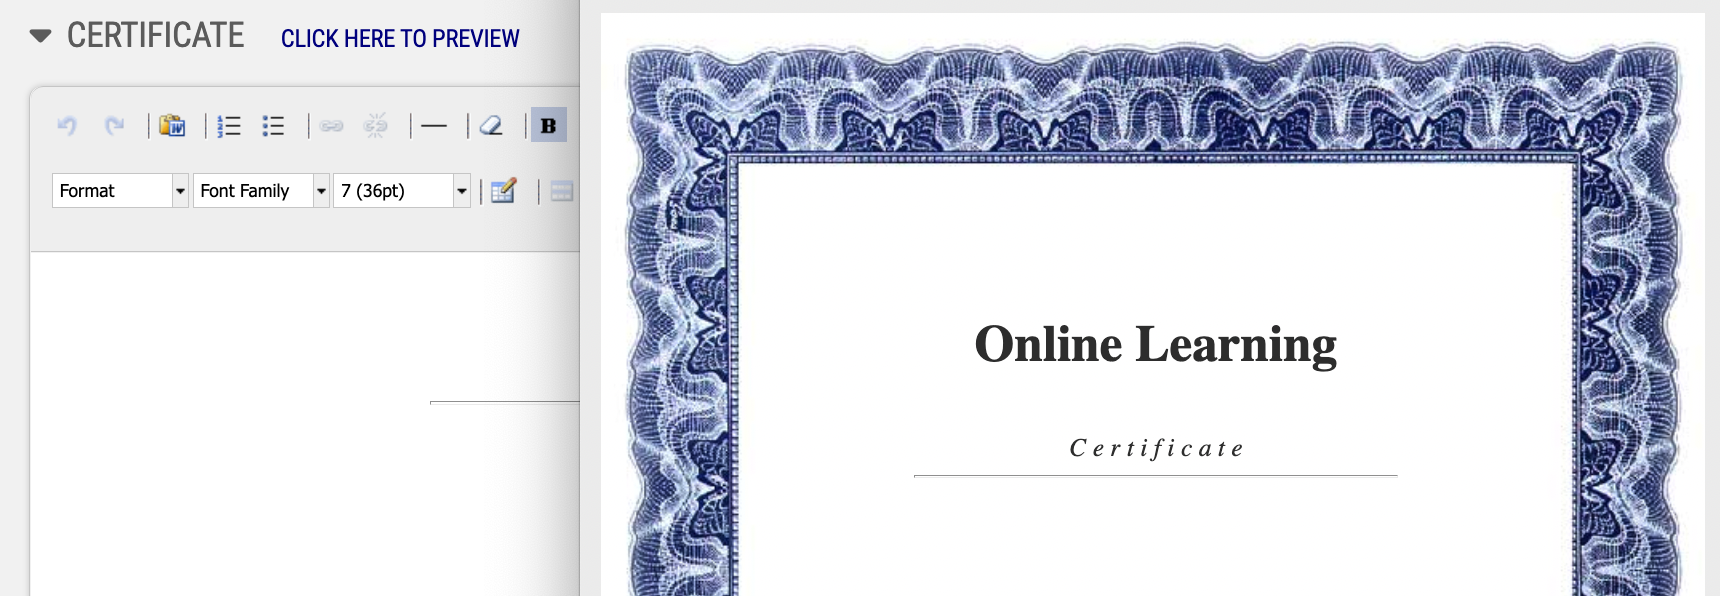
There are also occasions when you don't want your user to be sent a certificate. If this is these cases, you'll need to adjust a few settings to prevent them from being distributed upon completion. The best way to prevent your users from getting a certificate is to blank out the entire certificate by removing all of the text from the template.
When a user completes this module and receives the certificate, the generated certificate is a static snapshot of their current data. The certificate of a user named of Penny Anderson will not change if the user marries and has their name changed to Penny Bale and accesses the certificate later. The certificate will always read Penny Anderson.
Feedback and Responses
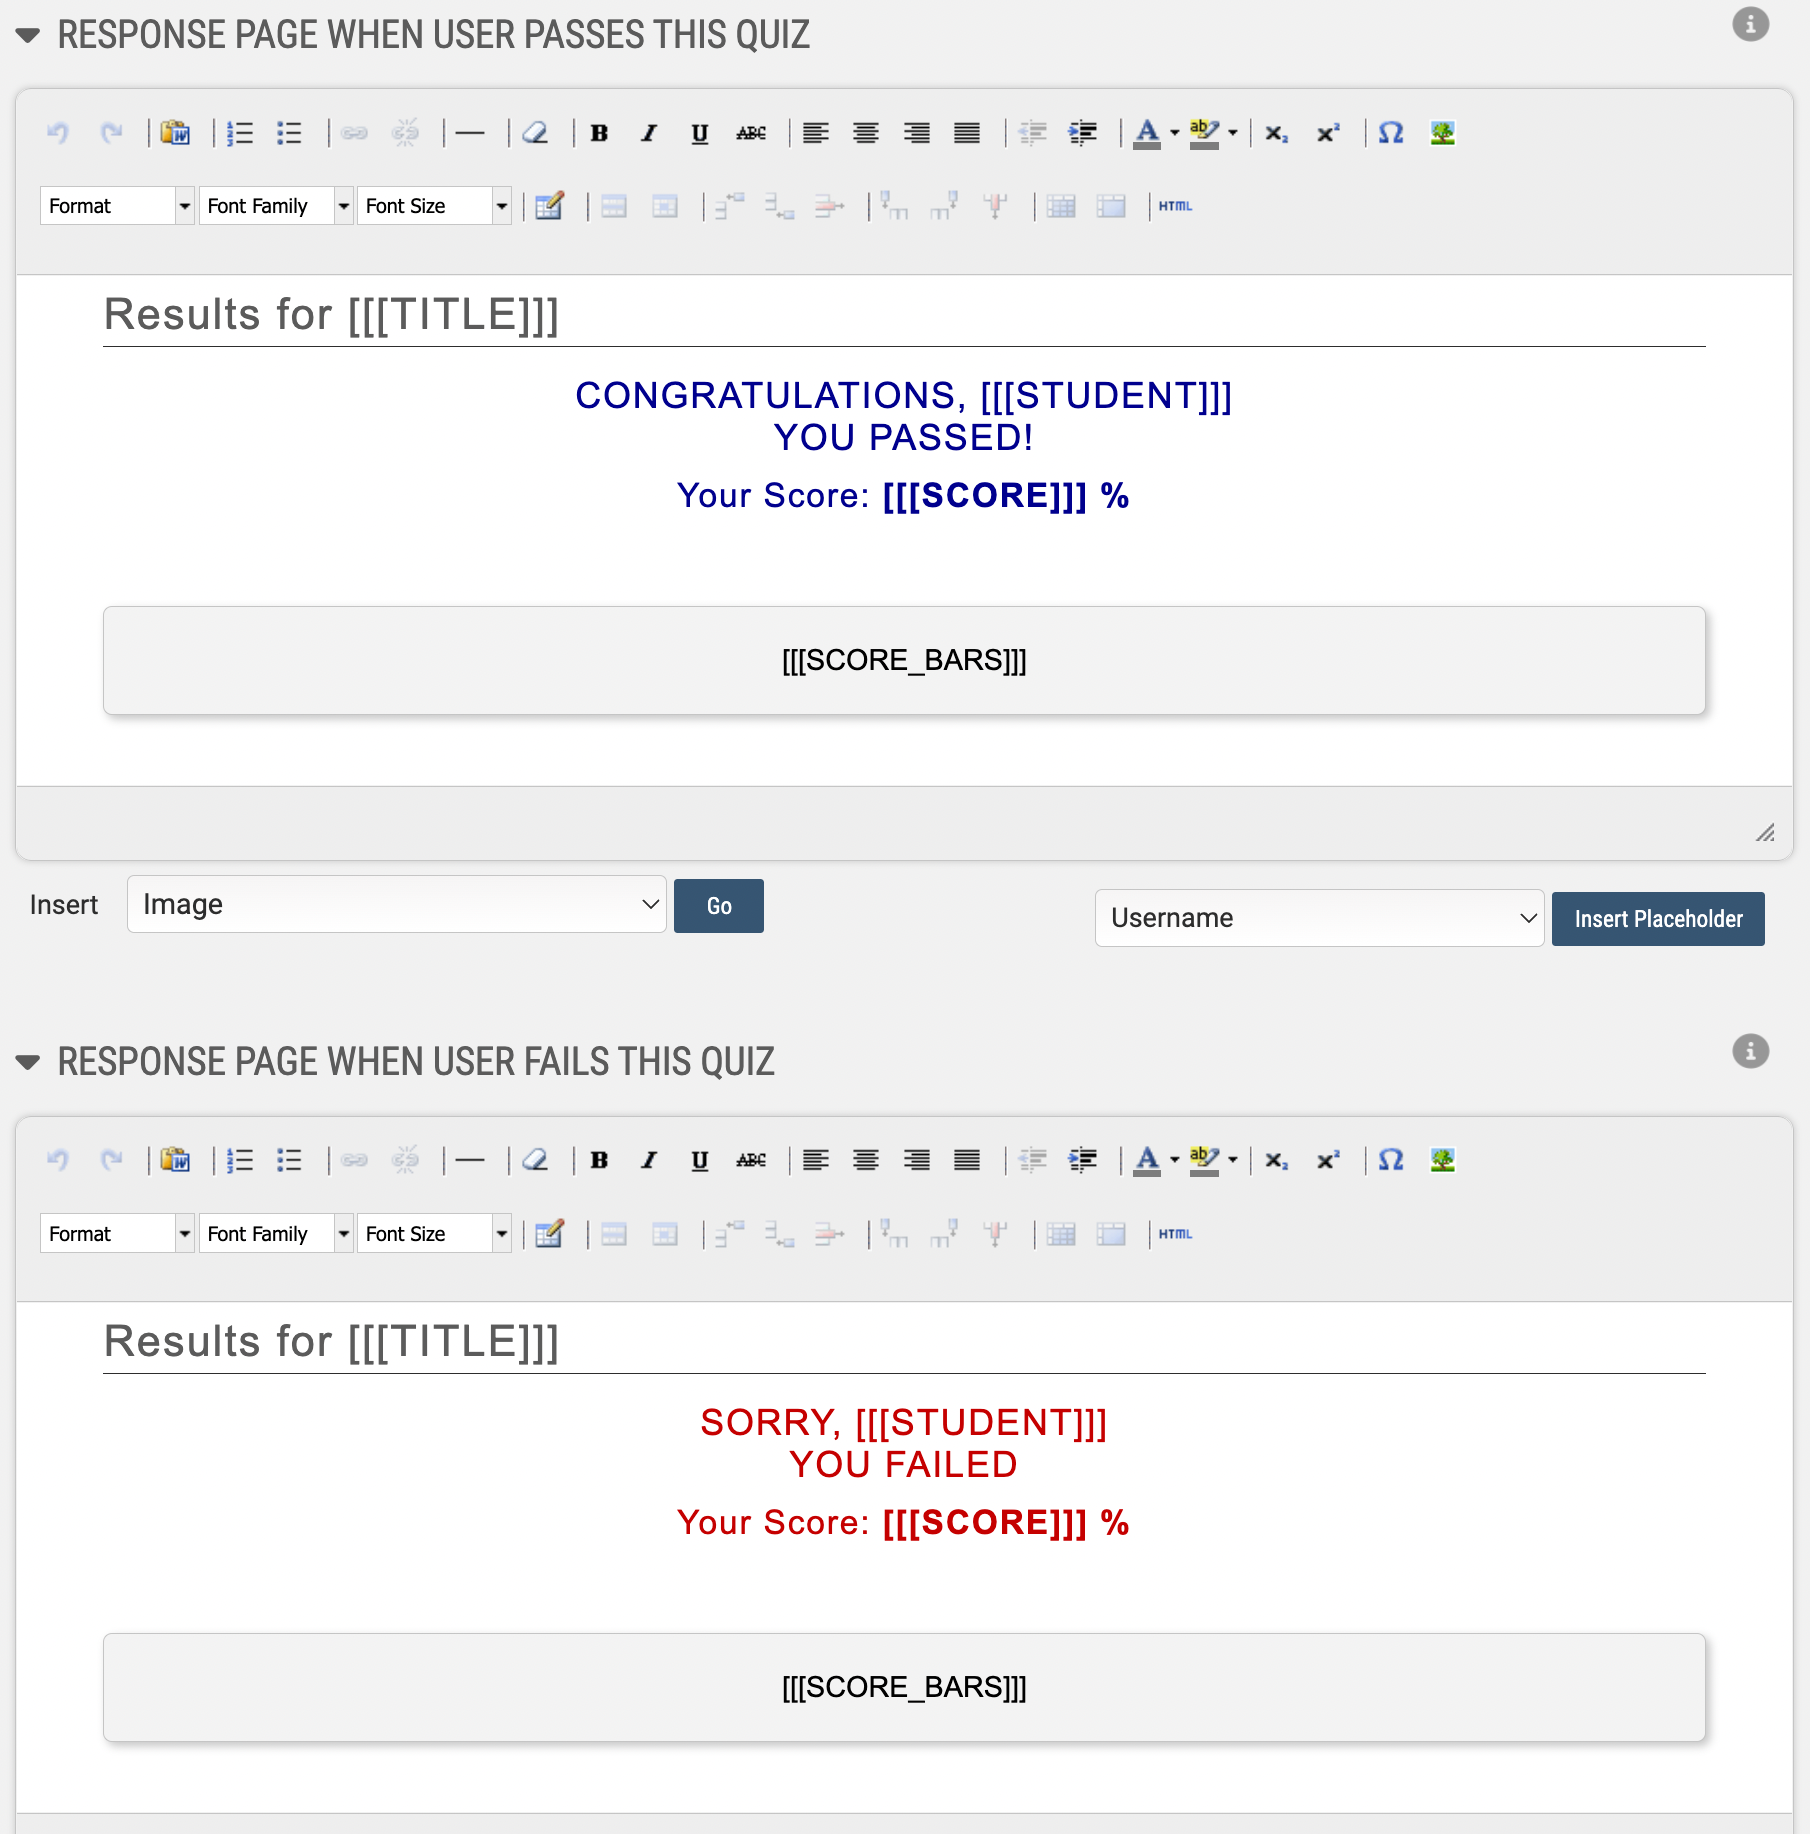
The last area you’ll want to check out before you finish your changes to the Graded Quiz is the Feedback and Responses page. When a user completes the module, they’re brought to a final page before closing out of the window - here is where you edit that page. There are two pages you’ll want to modify, for both scenarios a user may encounter (Pass / Fail). Use the built in editors and placeholders to add images, and brand the pages to meet your standards.
Printing a Quiz
Online Quizzes are obviously the biggest draw of an Online Learning System, but with Graded Quizzes, you can also print out Physical copies.

From the Quiz’s Dashboard, click on the "Print Item" icon, and you’ll be brought to a new page of this quiz in a printable format. The Options button in the top right give you the tools to add and remove different elements of the quiz.
Retaking the Quiz
One of the options you may have enabled in the Graded Quiz’s settings was to either prevent retakes, or capping the amount of times the module can be completed after a pass or fail. In cases like these, your user may encounter scenarios where they’re no longer able to open up the quiz. For individual cases, click on the User Access icon from the Quiz’s Dashboard
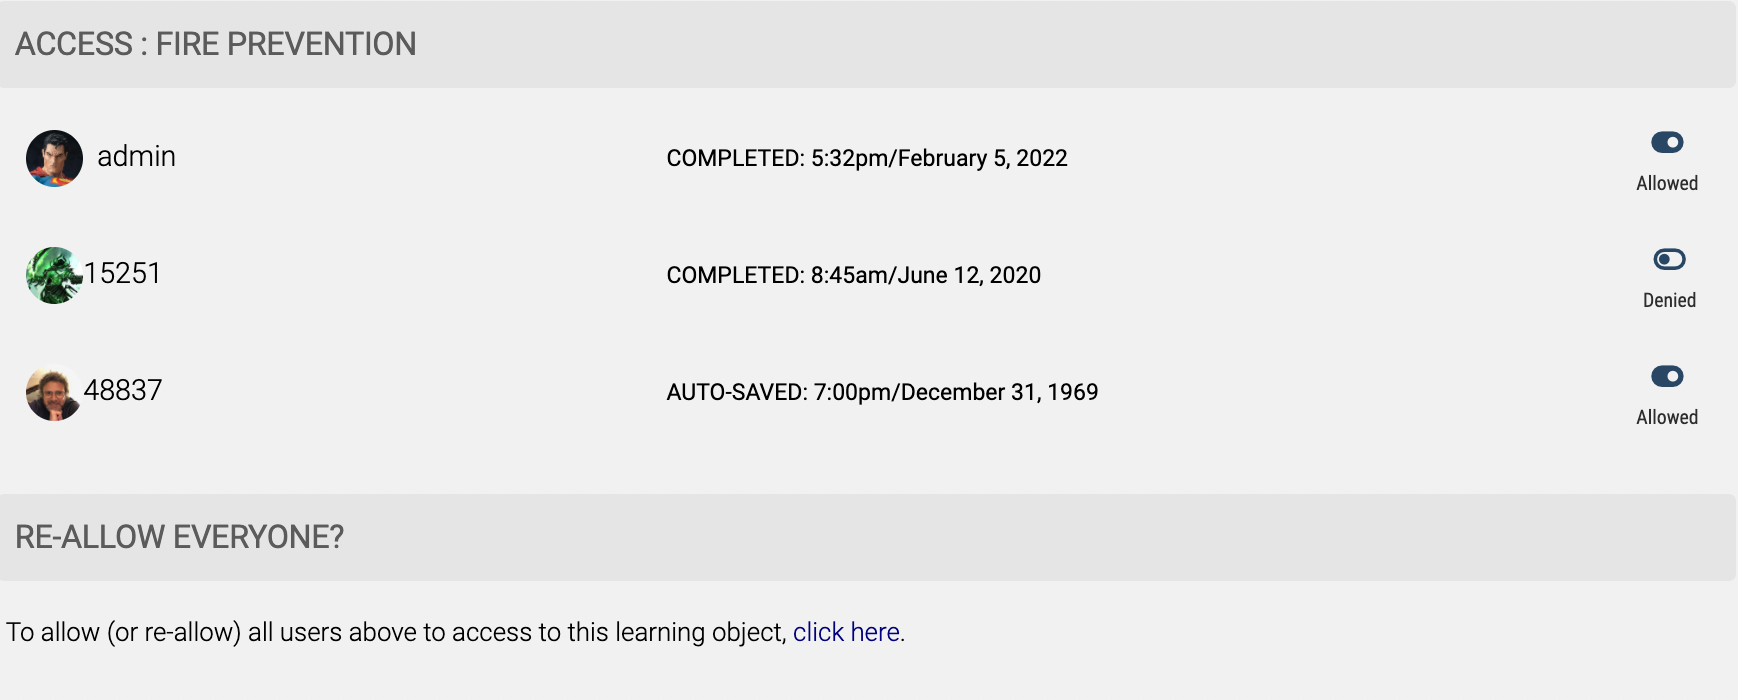
You should be brought to a new page with users’ names on the left, and either a Red X or green checkmark. Find the user whose having trouble accessing the module, and make sure they’re toggled to have access.
You can also do this on a larger scale by scrolling to the bottom of the page to the "RE-ALLOW EVERYONE?" section.
To prevent users from ever being locked out, make sure the Max Completions option (inside the Graded Quiz Settings) is set to unlimited amount of times.