Importing and Working with Question Slides

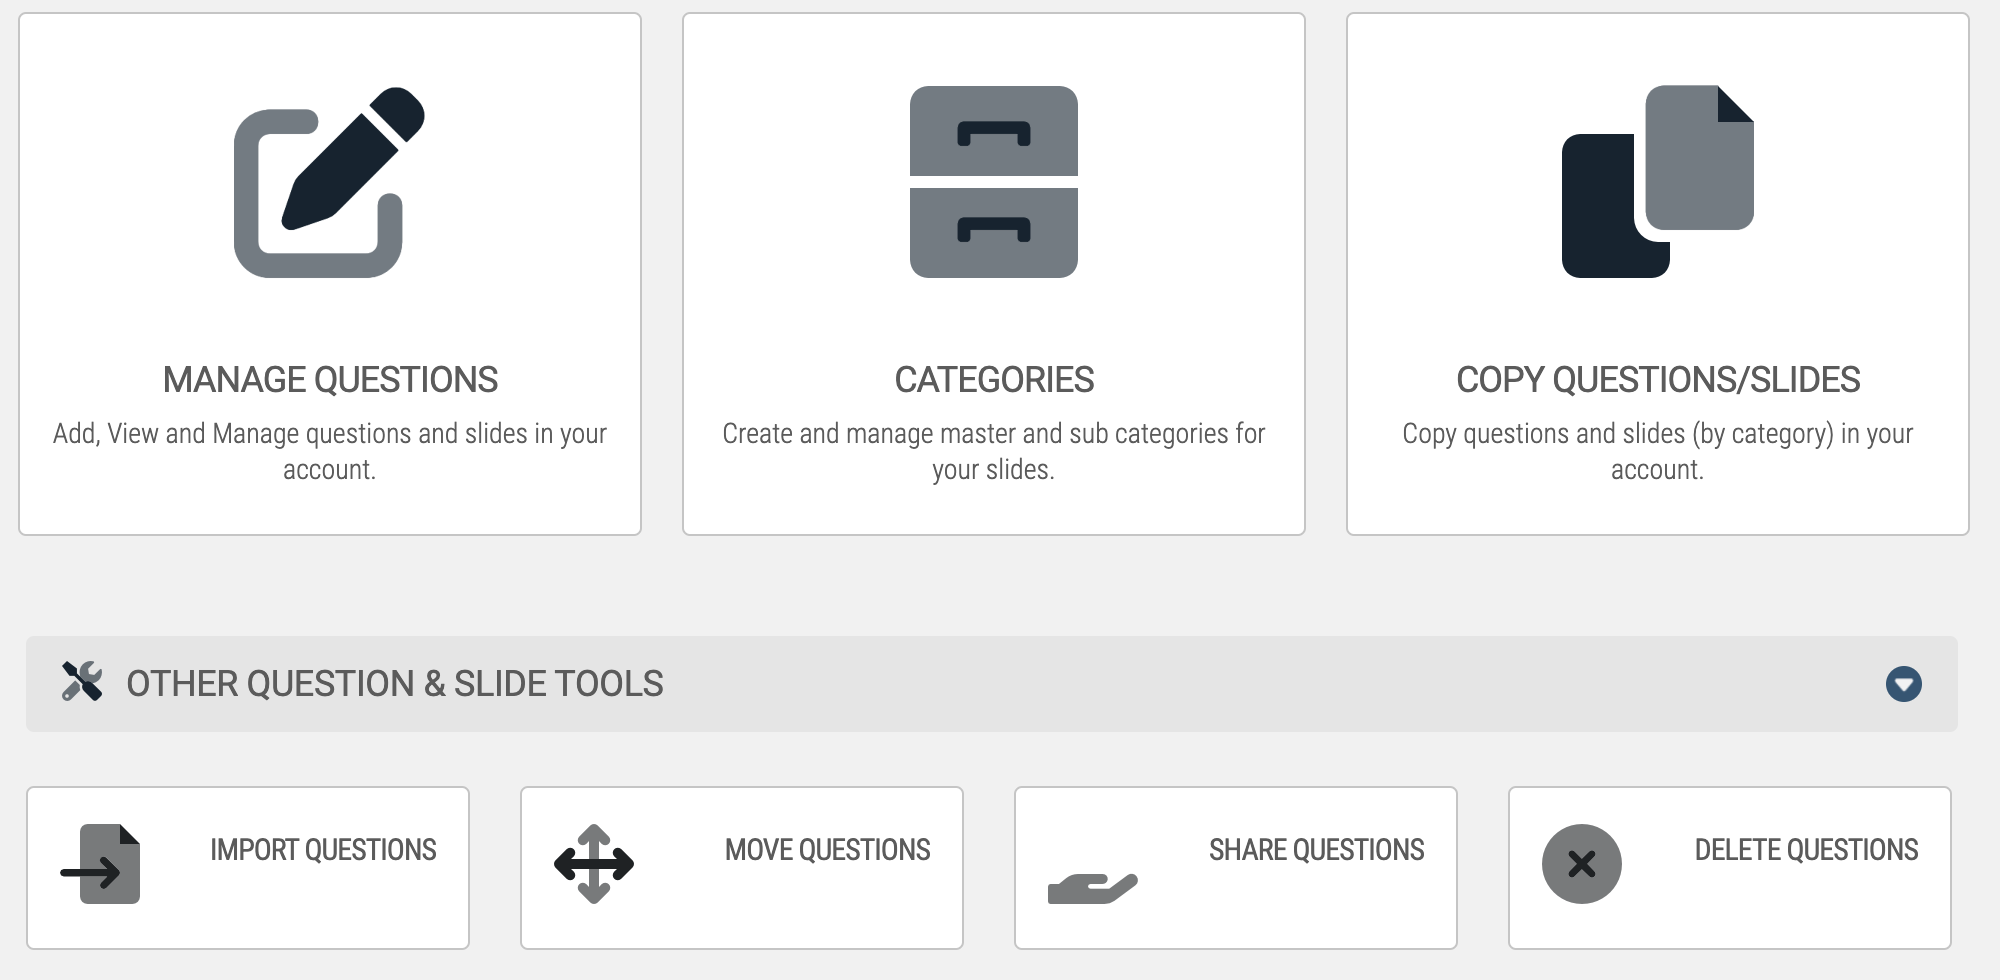
Informative Slides aren’t as common since PowerPoint, SCORM, and SlidePoint have become easier to implement. However, they continue to provide in-quiz information, as a type of presentation-quiz hybrid.
Using the Slide Editor
- Learning > Online Courses > Learning Objects > Slide Bank
To create slides individually, you're going to need to head into your Slide Bank; found by going into your Learning tab, then navigating into your Courses, and Learning objects. Once there, you’ll either create a new Slide, or edit existing ones.
When you're creating or editing your slide, there are two basic areas that you need to fill out: the content and the category. The content area has two input methods, either traditional input or an HTML editor. Also included in the content editor is the ability to add images, hyperlinks, audio, HTML5 videos, youtube videos; as well as common tools such as highlights, underline, and more. There is no shortage of tools to make your slides look slick and professional.
Adding Media
- Click inside the question text region, and position the blinking cursor where you want to add the media
- Select Video or Audio from the Insert Dropdown menu, then select your file
- Click Go
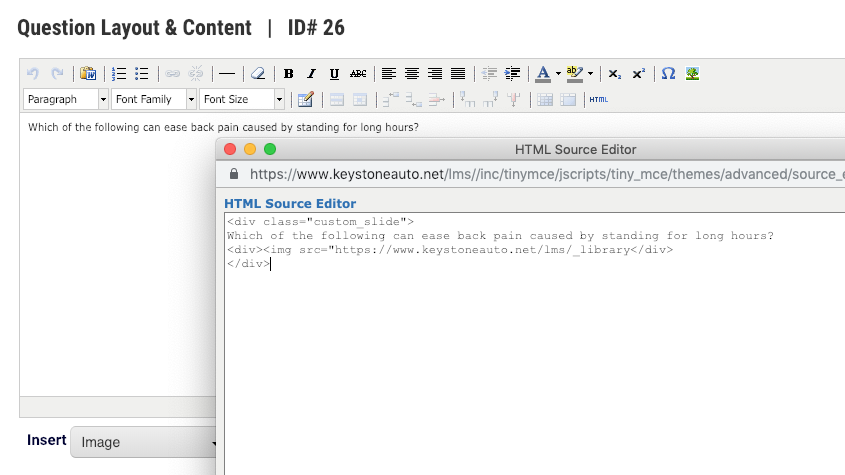
If you're working on a question slide, your content section will also have an answer area; this can be a check box for True / False questions, input fields for Multiple Option or Response, or a single input field for Essay and Fill-In-The-Blank style.
Before you can save your slide, you'll need to categorize it. If you've already created some categories, those categories will appear in the drop-down; you can also create a new category by typing its name into the field below the drop-down.
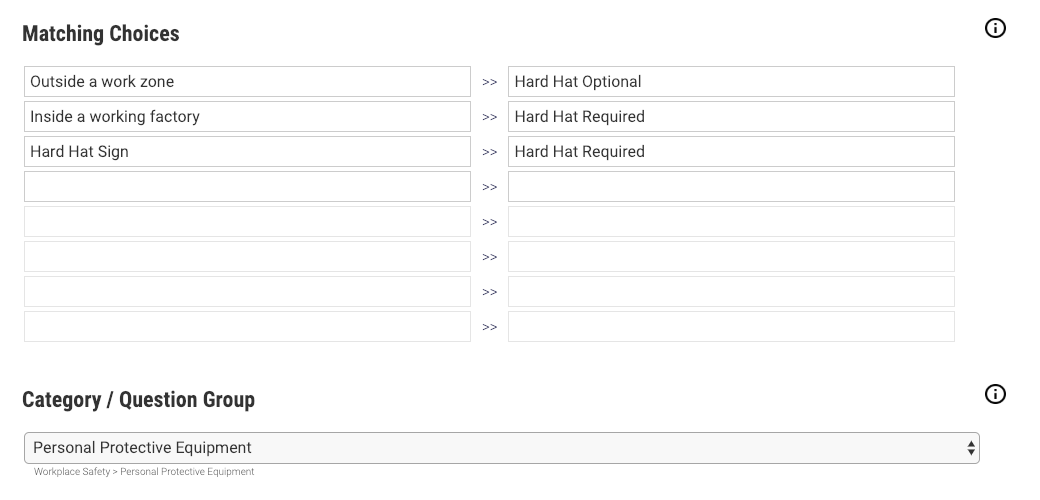
Once you've categorized your slide, you are technically done and able to save it. But there (up to) two additional tabs you may want to investigate: Optional and Other (which tabs appear depend on the type of Slide).
The optional tab is unique to question slides and is used primarily for feedback depending on how the user answered the question.
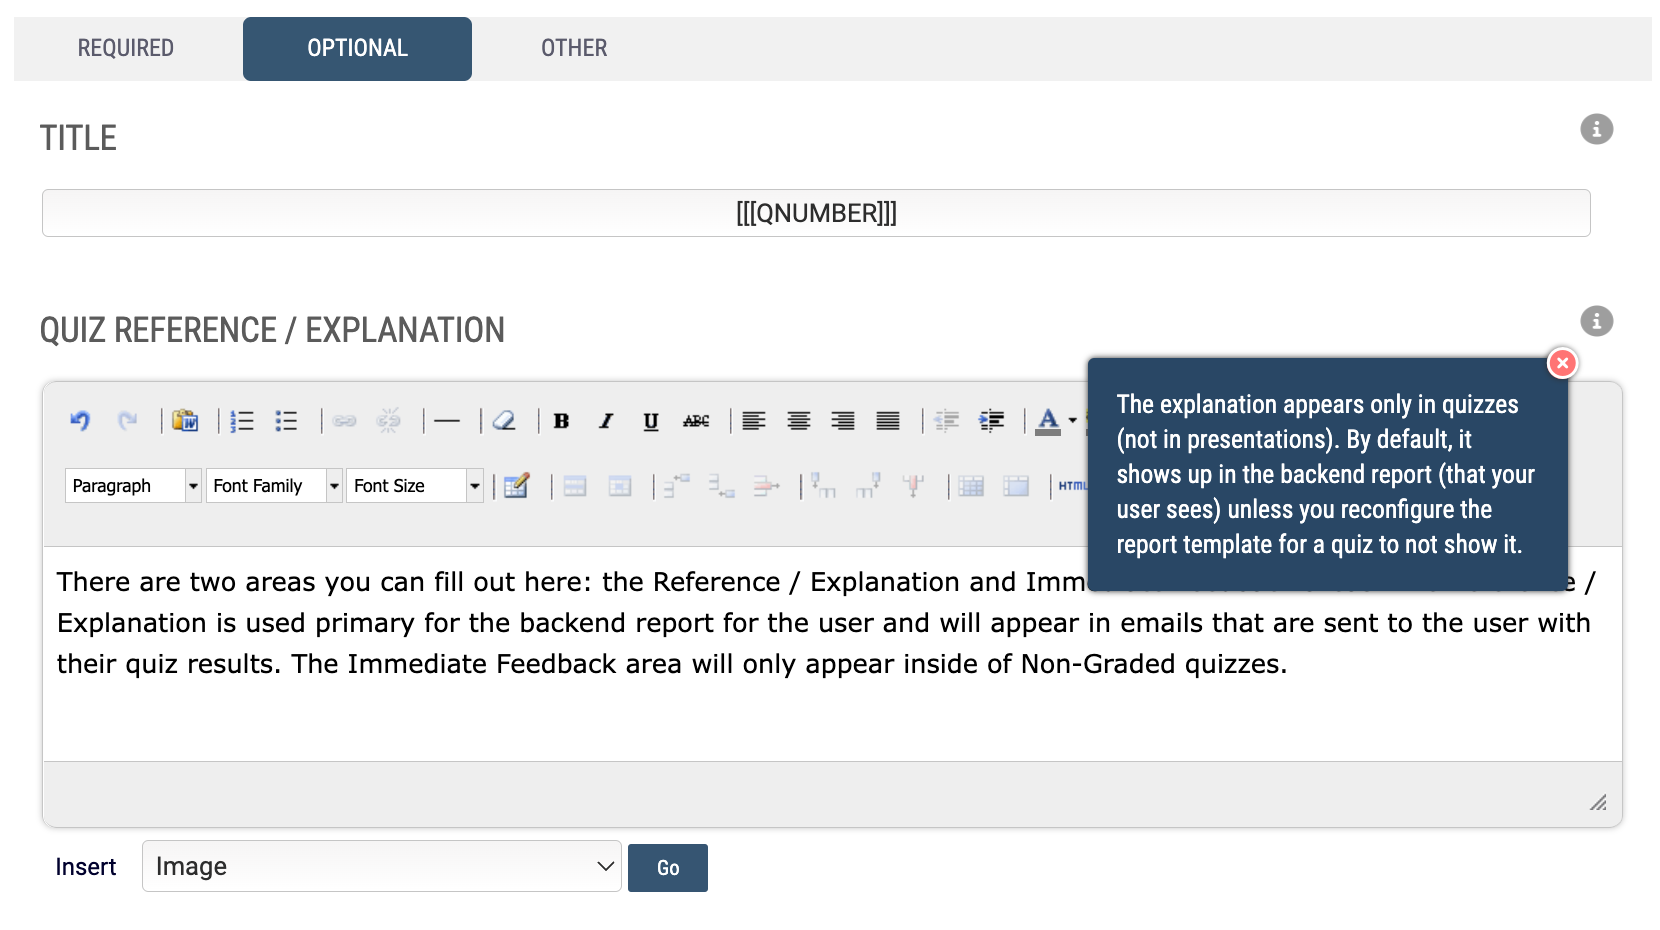
There are two areas you can fill out here: the Reference / Explanation and Immediate Feedback areas. The Reference / Explanation is used primary for the backend report for the user and will appear in emails that are sent to the user with their quiz results. The Immediate Feedback area will only appear inside of Non-Graded quizzes.
The Other Tab is composed of four sections:
Author's Notes: An area to write notes for yourself and Managers about this slide - will not display to Users
Change Log: This area will update itself and keep a record of every time this slide was saved
JavaScript Code: This area is primarily for advanced admins with JavaScript know-how
Slide Sharing: This checkbox allows you to share this slide with Managers on your system
Importing Slides
Slide Bank > Import Slides
While creating slides gives you a higher amount of control over every individual slide, Importing slides is undoubtably more efficient. The Axis question import allows you to quickly and easily import multiple choice style questions with a single correct answer into the LMS.

To import questions, select the Import Slides icon from your Slide Bank Dashboard; but before importing, you'll want to put them into the "11-line" format. Each question imported into Axis must follow the 11 line format.
The first line must contain the question text, followed by a Hard Return, then a blank line (if your question or answer text contains line feeds/carriage returns, replace then with the following markup prior to importing: [br] ). The next 5 lines are answers A-B-C-D-E, each followed by a Hard Return. If a question has less that 5 answers, enter a blank line (Hard Return) for each missing answer. After the 5 answers, another blank line should follow. Next, the explanation should follow, then followed by a hard return, and then 2 blank lines.
Each question immediately follows the previous question. Here is a template for your import:
- Question Text
- Answer A
- Answer B
- Answer C
- Answer D
- Answer E
- Explanation
- Question Text
- Answer A
- Answer B
- Answer C
- Answer D
- Answer E
- Explanation
Once you have your question formatted into the proper format you can then import them into the System. Here's how you would complete the import process.
- Copy the contents of your formatted question file and paste it directly into the Question Text File area (make sure when doing this that you have word-wrap disabled in your text-editor and that the last question has all 11 lines, meaning leave two blank lines after the last questions' explanation).
- Click on the Validate button located directly below the Question Text File field to check each question to make sure it has 11 lines and that each question has one correct answer indicated.
- Select (or manually enter) the category that you would like to import the questions into. When you're importing questions all of the questions that are brought into the system during an import must go into the same category.
- If you would like to shuffle the order in which the answers are displayed to your users each time they view the questions leave the box next to Shuffle Answer Order for Imported Questions checked; otherwise uncheck this box.
- Click the Import Questions button to import your questions into the system.
Slide Categories
If you are creating Slides on the fly, they’re likely being placed into ungrouped Slide Categories - which is fine but can become a headache to manage as your Slide Library expands. Using Master and Sub Categories, you can break down larger Categories ["Workplace Safety"] into smaller Categories ones ["Fire Prevention", "Electrical Safety", etc.]

The biggest benefit of Master & Sub Categories, is that you can call on either of them whenever you would usually reference just one. A common example is when you're using Wizard Blocks.
Using Master & Sub Categories, you can create multiple wizard blocks calling any of the Categories: "Select 5 questions Randomly from Fire Prevention:, "Select All questions Randomly from Electrical Safety".
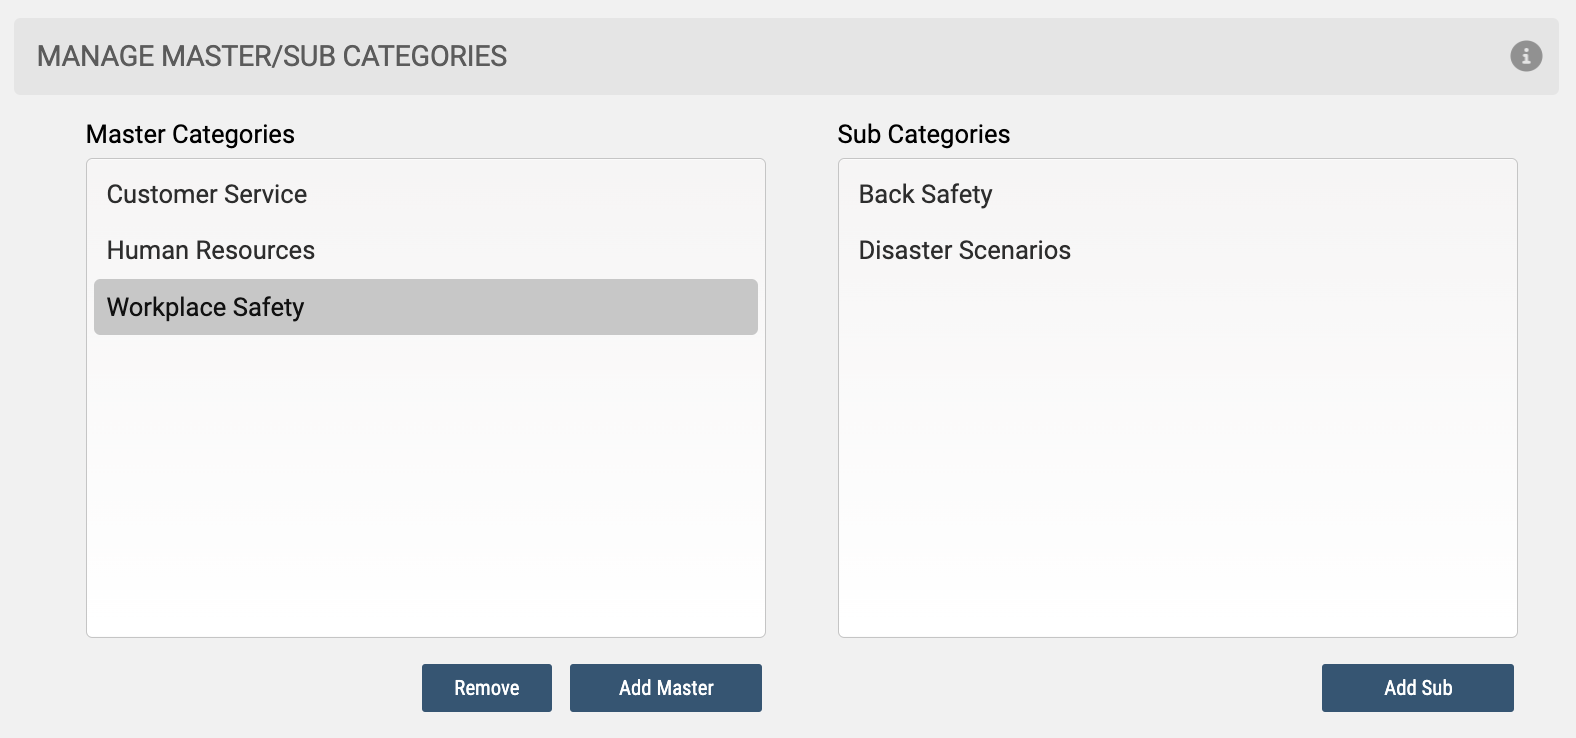
Or, you can add one Wizard Block to select from all categories beneath a Master: "Select 20 Questions Randomly from Workplace Safety."
- Select Master / Sub Categories from your Slide Bank icon
- Add Master
- Add & Close
- Select your new Category from the menu on the Left
- Add Sub
- Add & Continue
- Close
Moving Slide Categories
If your slide Library has amassed too many categories, you may want to consolidating those categories.You can accomplish this by using the Move tool, to merge similar groups of slides. To start off the moving process, you'll first need a destination category. You can either use an existing category, or you can create a new category using the Master / Sub Categories.

Once you've staged the destination category, you'll want to use the Move tool from your Slides area. The Move tool is extremely simple to use; select the old category to move slides from, then select the new category to move them to.
If the move was successful, you will see an alert at the top of your browser saying so. After this transition, you will need to alter any Wizard Blocks you created to draw questions from the new destination category (read more in the Republishing Article).
Sequencing Slides
When you create a Wizard block you have the option to either shuffle questions from a category, or to deliver them in sequence. Many admins choose to shuffle these questions, because they aren't aware that their slides even have a Sequence; or that that sequence is adjustable.
To change the order a category of slides will appear in sequence, open up your Slide Bank, and select a Category of slides to work with.
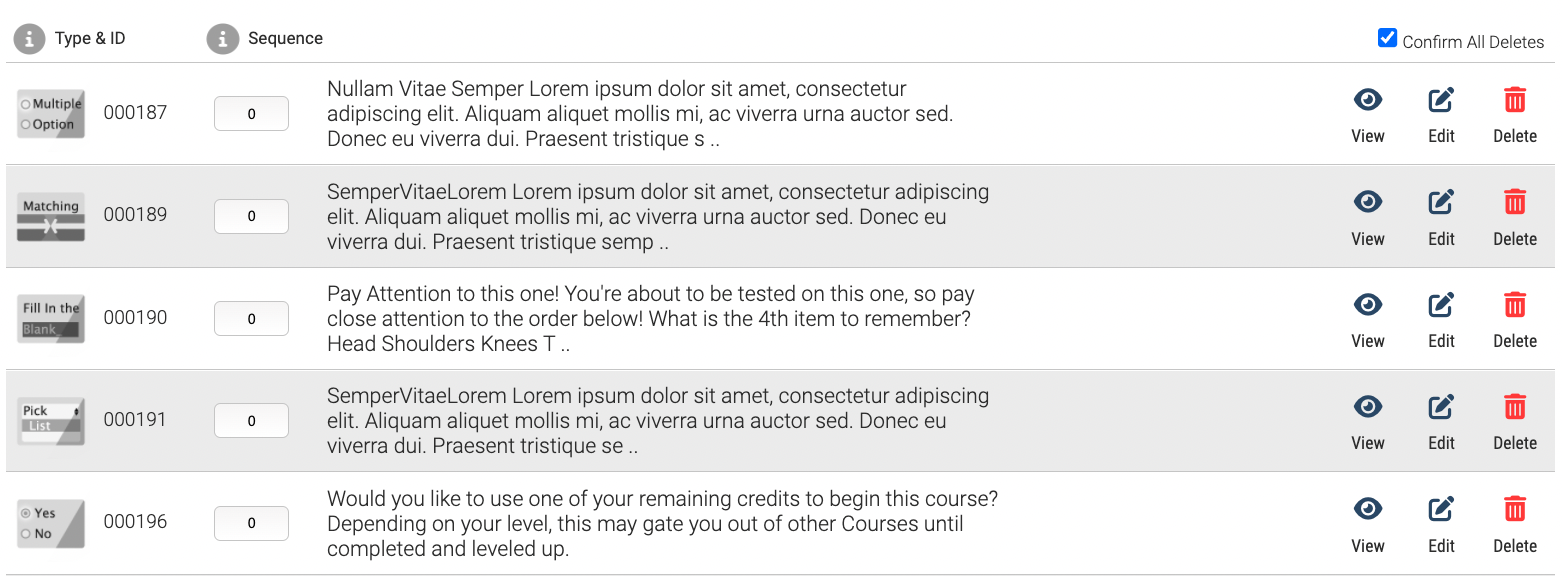
After the category list populates, you should see the type of slide, its ID, and an input for the slide’s sequence. Overwrite the sequence with any numeric value, and click the Reorder button to save your new Slide Sequence. Now you’ll know the Slide Sequence whenever you use a Wizard blocks in your modules.
Non-Graded Slides
Because of how users progress through Non-Graded module types, only the following slide types may be used when creating Non-Graded quizzes.
- Informative
- Multi-Option (one right answer)
- True / False
- Yes / No