SCORM in Axis LMS
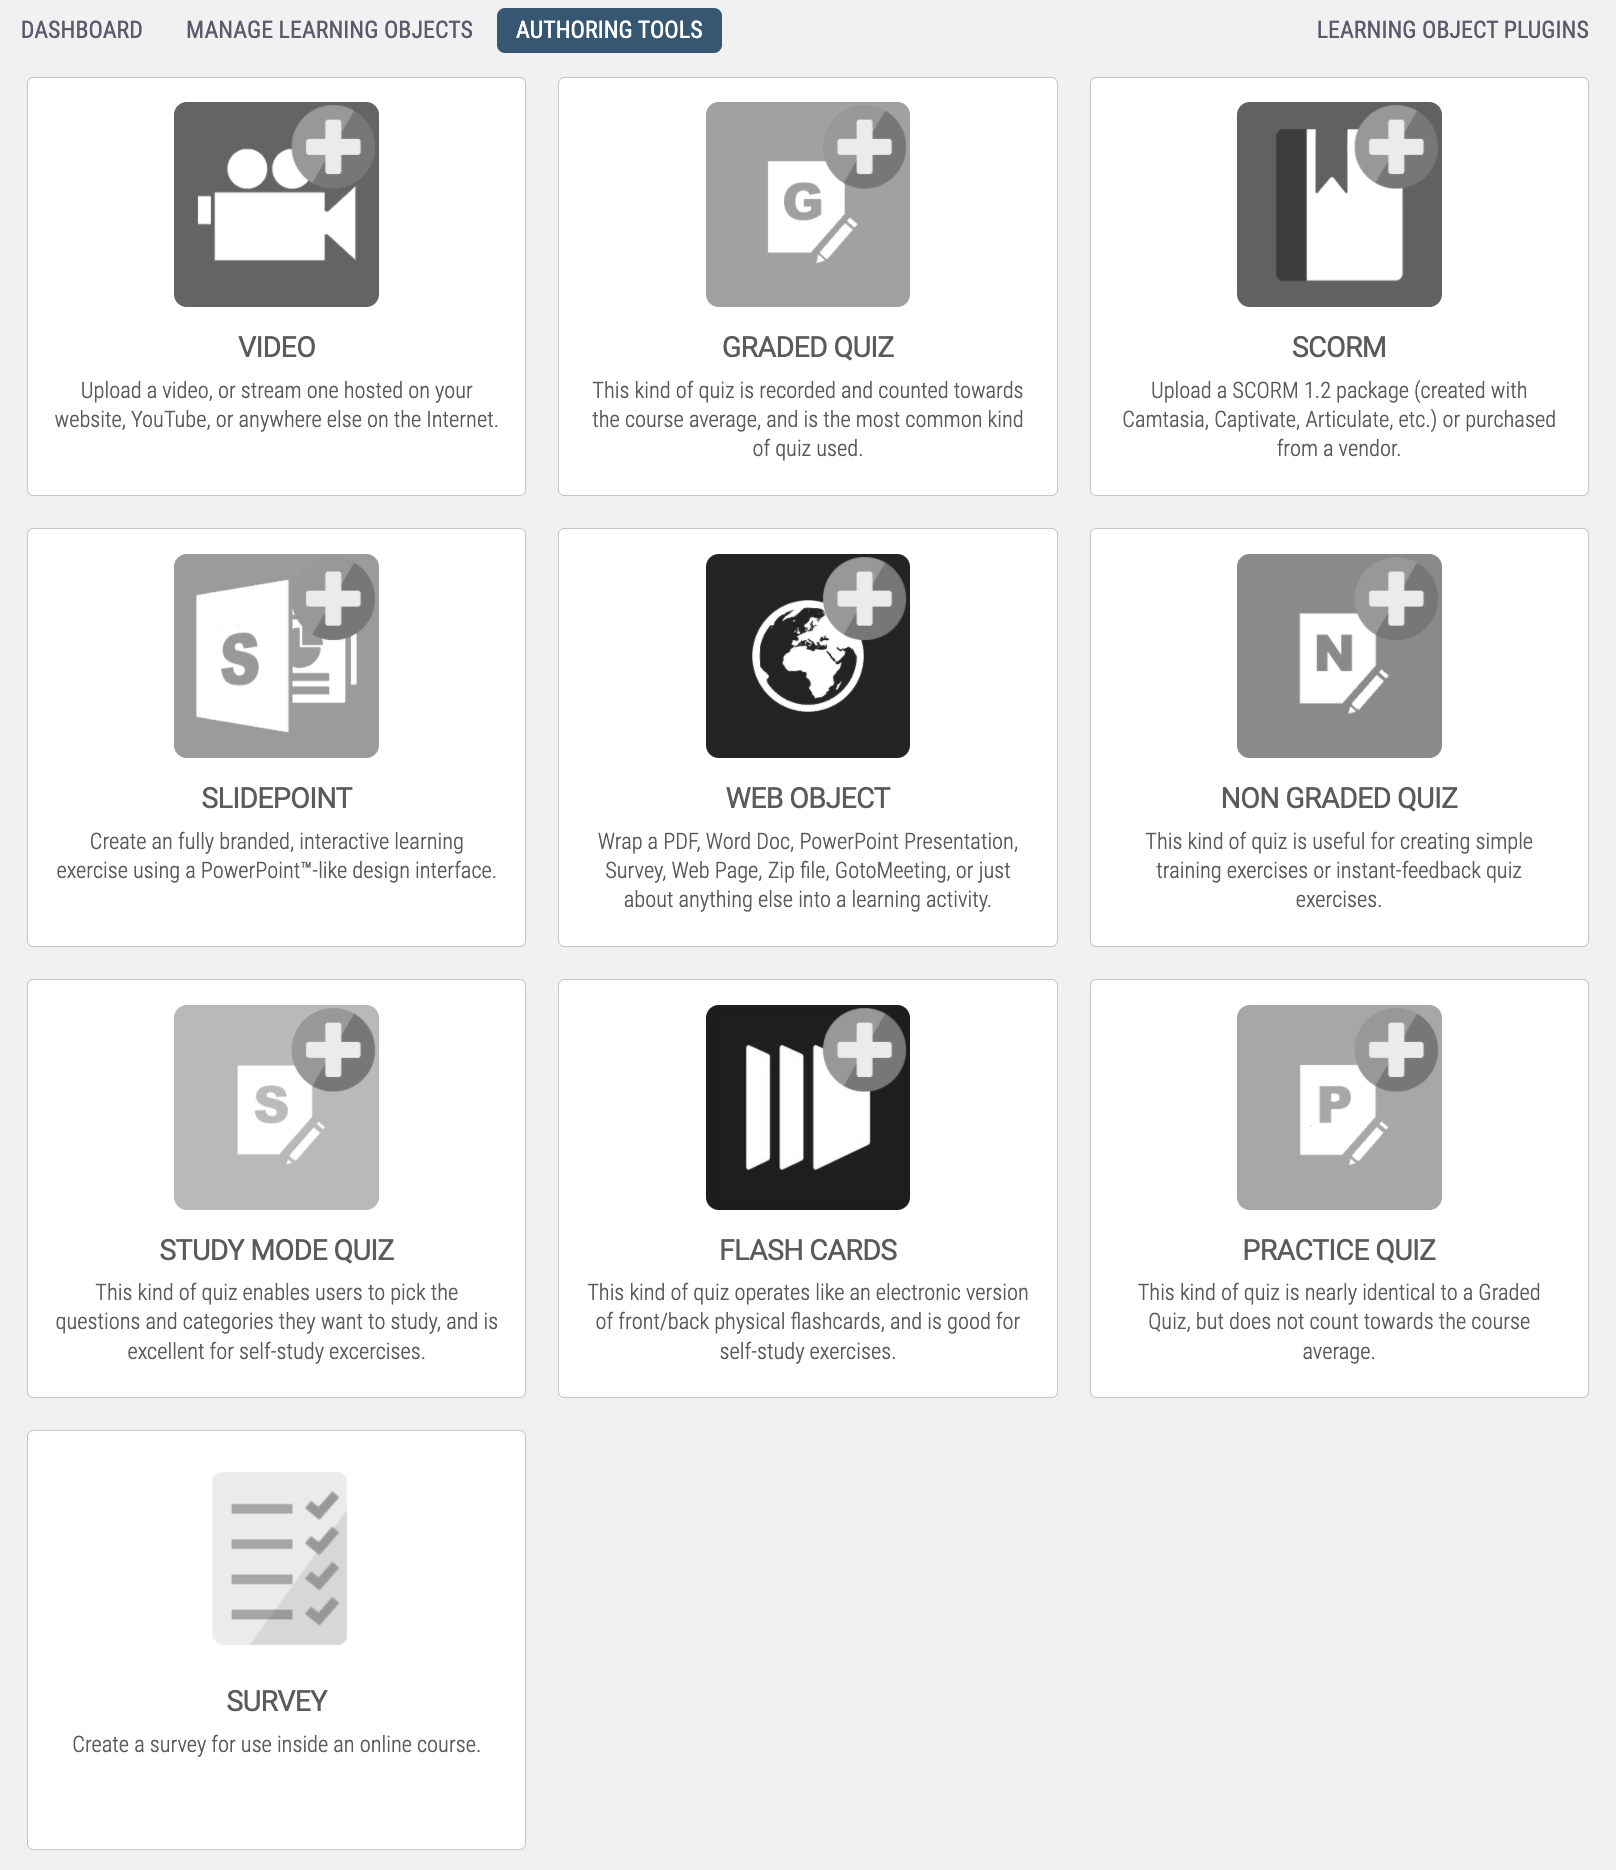
Ultimately, Axis LMS Admins are going to use these softwares to turn their authored training into SCORM v1.2 packages, ready to be uploaded and used right inside of Axis LMS. As an industry standard, there are certain authoring guidelines that most LMSs adhere to. For the best Axis LMS user experience, we recommend making sure these settings are in place:
- Toggle reporting to use Complete/Incomplete
- Disable Interaction Data
- Do Not require a user to view 100% of the slides for branching SCORMs
After exporting your SCORM file from the authoring software (the SCORM file should use a .ZIP extension), it’s time to bring it into Axis LMS.
- Need help exporting your SCORM to v1.2? Rise 360 makes the process super simple.
- While editing your Rise 360 course, click "Export" in your top tools. Where prompted, select "LMS" then "SCORM 1.2"
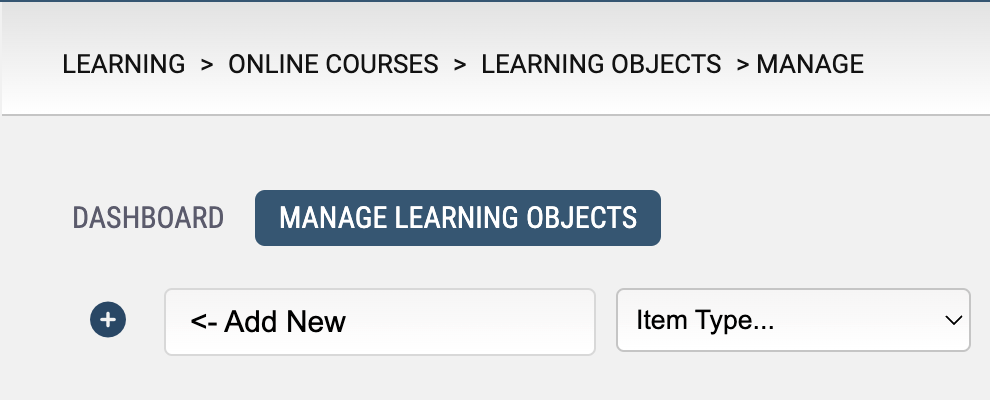
To create your SCORM Learning Object, give it a name, then upload your .ZIP SCORM Package.
Adding to a Course
Like many learning activities, SCORM package files can be dragged directly into your Axis LMS Course Building tool to create a SCORM Object on the fly. You can see an example of using the course builder's drag functionality here.
Tracking Score Data
By default, SCORM Objects will only report back a complete or incomplete; but with a simple change, Axis LMS administrators are able to collect numeric scores as well.
Here's how - after adding your SCORM object to a Course Section, click the menu button (three dots) adjacent to it and click the option to track this SCORM's score.
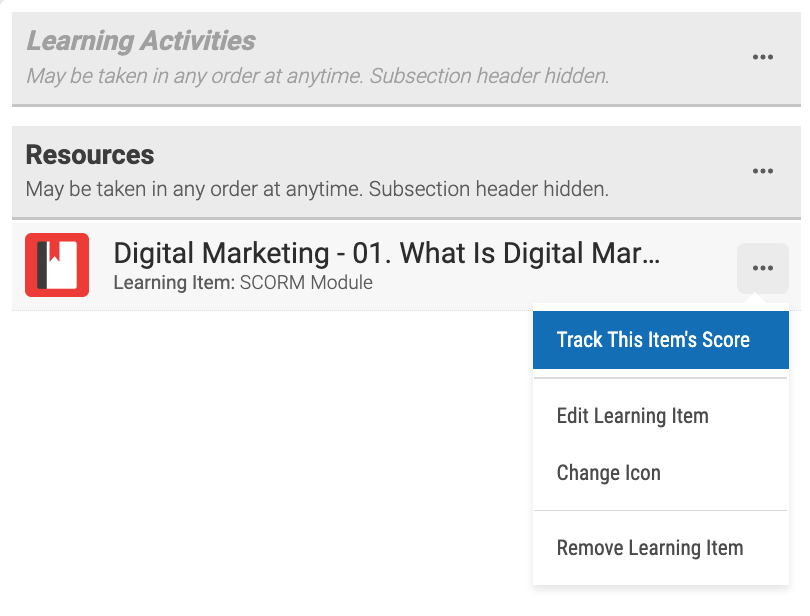
After tracking the item, the Activity Progress can be adjusted by going to Learning > Online Courses > Manage Online Courses > Progress & Score Weights. Learn more here.
SCORM Object Settings
Your SCORM Object has been created, and it’s been added to your courses. But there are some extra settings available, allowing your to customize how the SCORM launches, and further customize how it looks.
- Learning > Online Courses > Learning Objects > Manage Learning Objects > Manage [SCORM]

Opening up the General Settings gives you the ability to change the display name of the SCORM Object (what your user sees), as well as deciding whether or not to Auto-Launch the SCORM when a user launches the object.
Branding & Design will allow you to customize the default window size, and adjust (and preview) different color themes; or enter your own colors and fonts if the themes don’t match your brand. The bottom of Branding & Design allows you to add your own CSS to really customize the SCORM wrapper to your taste.
SCORM Reports
Depending on how you're delivering your SCORM Learning Objects, and if you've opted to collect score data, then you'll be going to one of two locations to pull up report data.
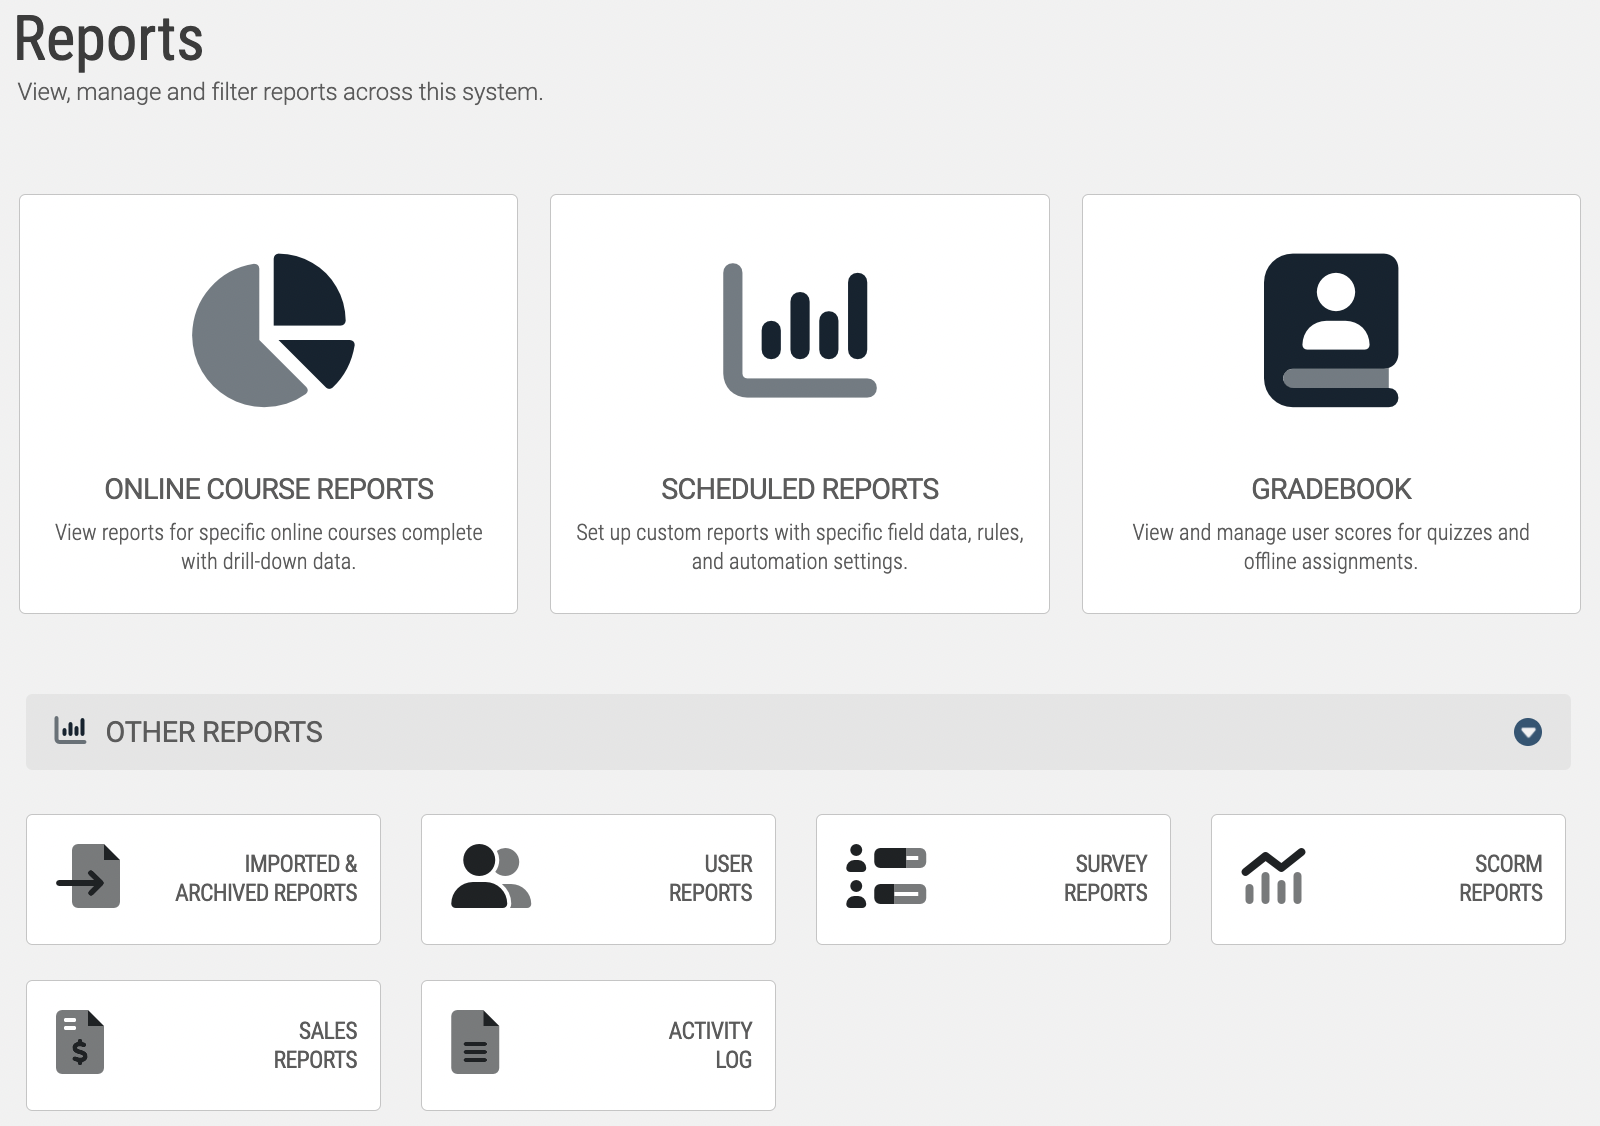
For non-scored SCORM Learning Objects, Reports > SCORM Reports will allow you to pull up reports on a SCORM by SCORM basis, drilling all the way down to a user's completion attempt; which includes a detailed status breakdown of how each 'chapter' of the SCORM was completed [complete / incomplete], and the option to view an in-depth data analysis of each 'chapters' backend data.
For scored SCORM Learning Objects (ie. Offline Activities), you'll find these scores under a course report view. These can be viewed on either a user-by-user basis, or as a comprehensive analysis of every user's score for that SCORM.
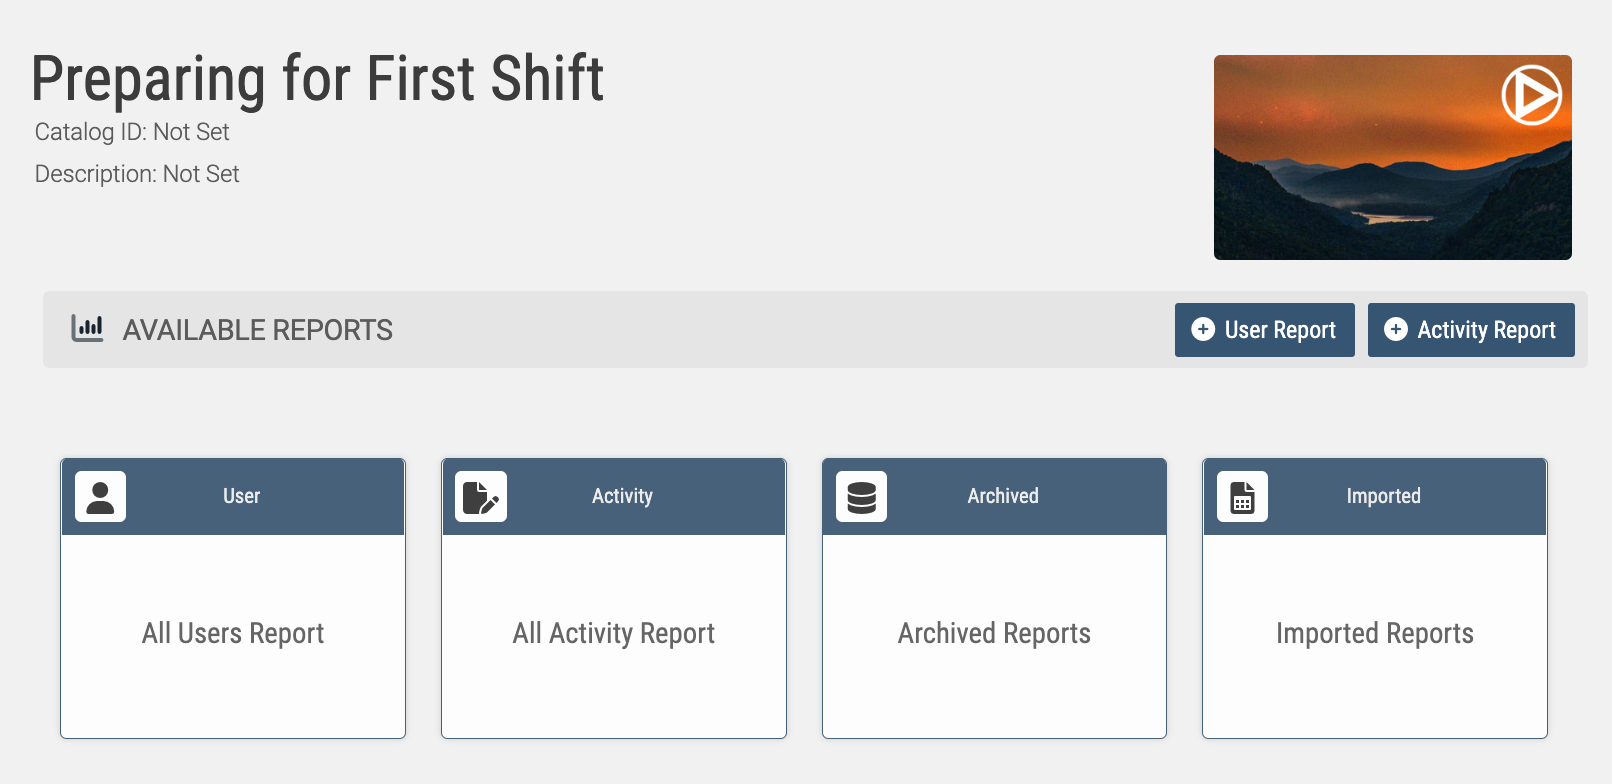
If you've chosen to deliver your Learning Objects using the 'popup' method, your course listing may not refresh automatically; affecting the ability for triggers to fire. If delivering your SCORM in-line with the course isn't viable for whatever reason, follow the instruction of this article to make sure your course listing is refreshing correctly when your users complete their popup SCORM activity.