User Automation Event Triggers in Axis LMS

Automation Event Triggers are the solution to many of the different scenarios you may encounter as an administrator. When triggered by a user’s actions, a chain reaction will occur somewhere else in the system; this occurs time and time again, and once they’re set up, go to great lengths to automate different user-related processes in your Axis LMS System.
You’ll want to use Event Triggers to solve a huge range of possible scenarios: changing user fields, enrolling users into courses, opening up new sections of a Course - the list really is endless. If you’re just getting started with Event triggers, the best way to think of them is IF->THEN scenarios. If a User does X, then Axis should respond with Y.
Where to find Event Triggers
There are three different types of Event Triggers: Course, Automations, and Shopping Cart.
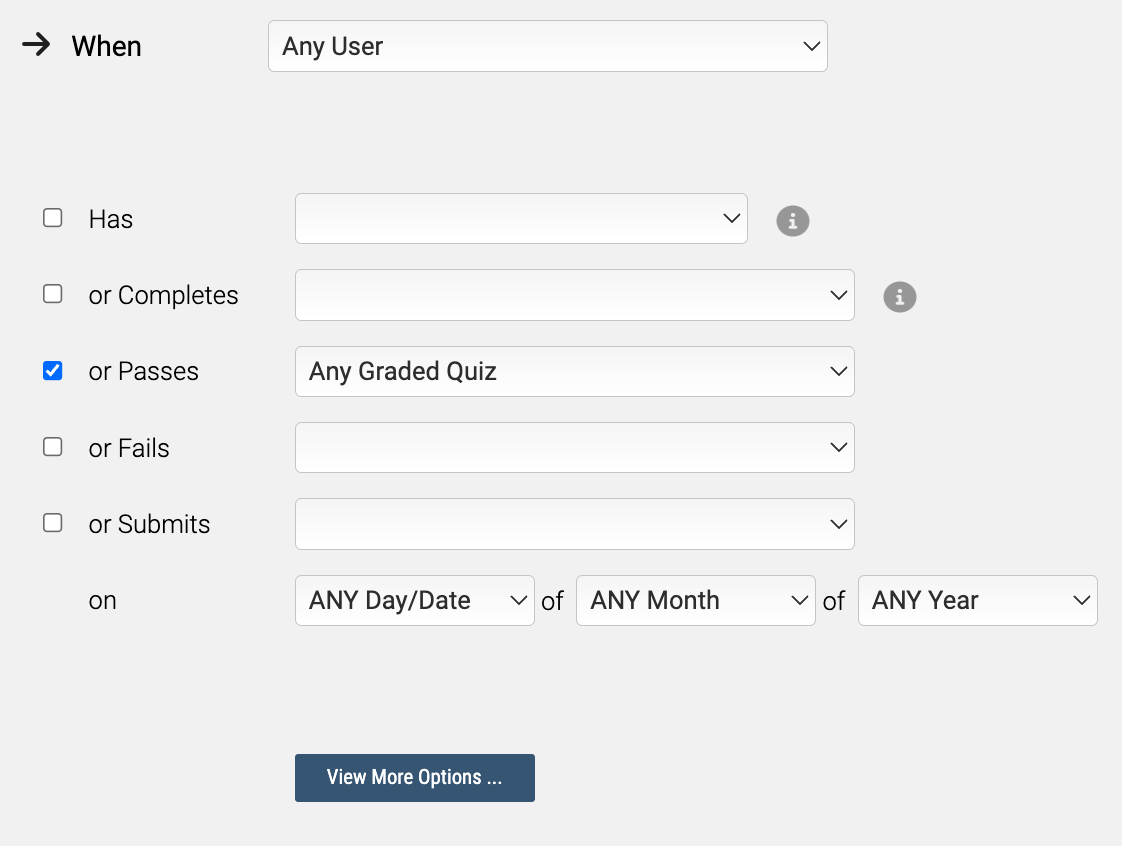
Learning > Online Courses > Manage Courses > Manage > User Event TriggersCourse Event Triggers have the most varied amount of user-triggered actions; such as completing, passing, or failing a certain module, or any module. They can also be further refined to act on smaller subsets of users via their Course Active Dates, Organizational Branches, or any user profile field.


System > AutomationsSystem Automations are the most comprehensive type of automations available. For complete details on using them, refer to the Automations documentation.
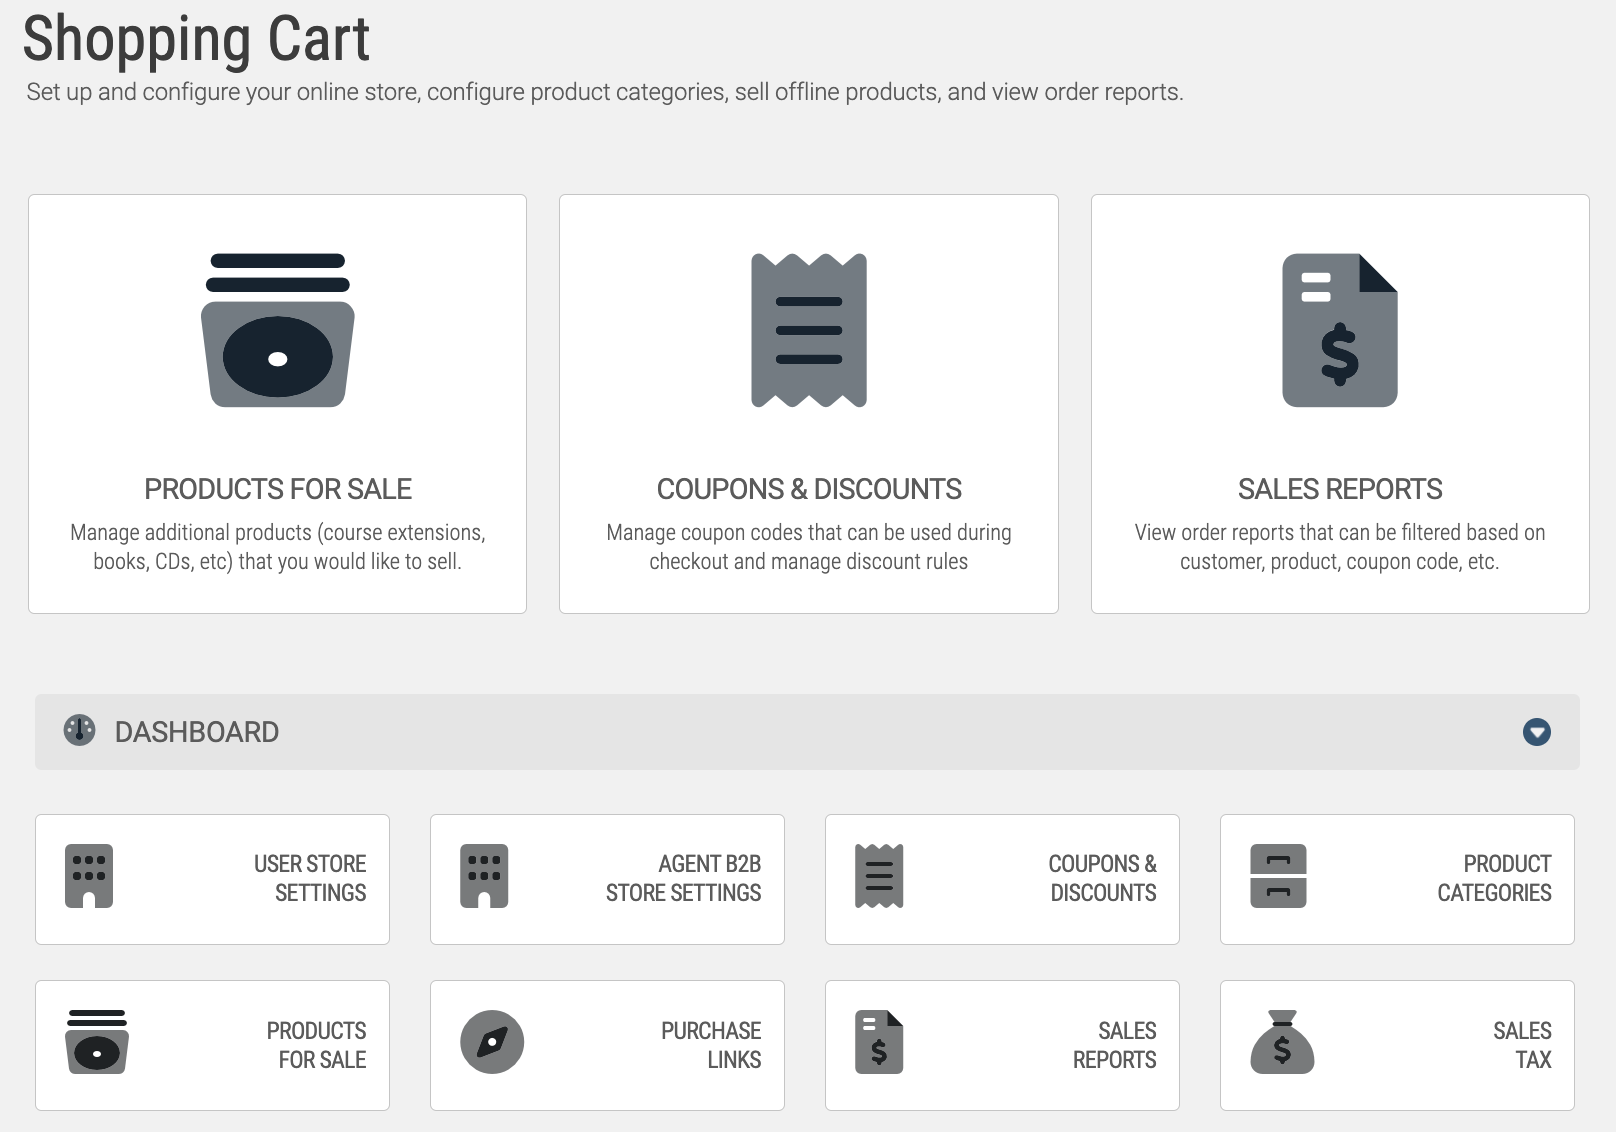
Shopping Cart
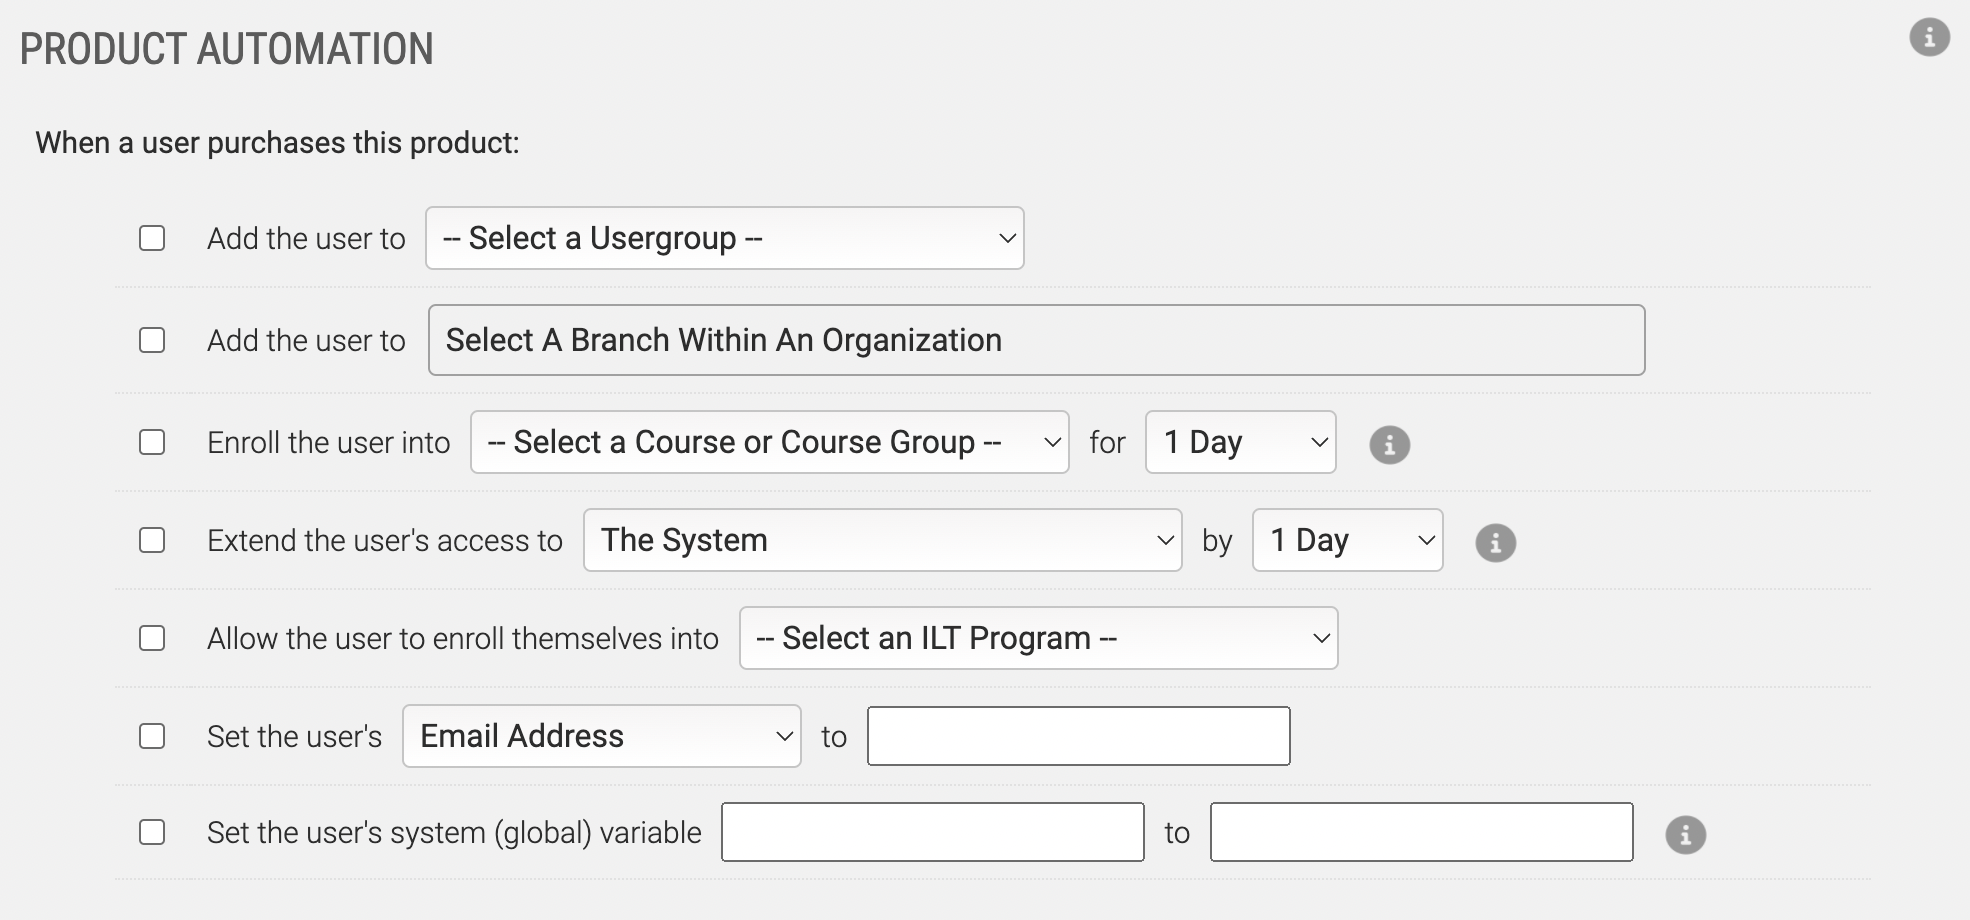
E-Commerce > Shopping Cart > Manage Other Products > Create > Product Triggers

Used by themselves, you can create to extend a users access dates in your system; or a course - setting the system expiration date is especially useful for automatically de-activating users.
Event Triggers allow administrators an incredible amount of customizability, and automative capabilities. However, these long chains of events can be intimidating to some administrators, especially if they’ve never made one before.
When you’re creating long chains of Event Triggers, always remember that only one event is firing at a time. So once you have your end goal in mind, just take one step back each time and test it out - then another, and another. How does a user trigger this event?
Below are a few samples of how event triggers can be used.
Goal: Sell multiple courses at once
If you’re selling multiple courses as part of a package, you’re going to need to use either the Shopping Cart, the Learning Portal Triggers, or both.
Using the one-step approach, we need to enroll certain users into Course A, and Course B at once. Because the users are not logging directly into the courses, we can add an event trigger onto the Learning Portal where they log in. But we don’t want these triggers affecting every user - only those who have purchased the package. So we’ll take another step back and mark users who are purchased the course package
The easiest way to mark certain users is with a Usergroup. The Other Products Event Trigger is able to add users to a user group. So to sell multiple courses in one transaction, we’ll set up two triggers:
Tracking Variables
Inside Axis LMS, your users have ‘hidden’ fields that you are able to set and manipulate strictly through Event Triggers. There are two types of these fields: Course Tracking Variables, and Master Tracking Variables. Course Tracking Variables are unique to a Course, while Master Tracking variables follow a user all throughout Axis LMS.
By using these variables efficiently, you have the ability to use fluctuating variables to create a more dynamic course. Inside Axis LMS, it can be manually set by going to a user's Dashboard, and selecting the Manage Trigger Data icon.
Course and Master Tracking variables are the only fields that are able to be incremented, rather than being set. This unique attribute allows you to create scenarios that would otherwise be impossible.
For example, acting upon any module failure is easily accomplished with just Course Event Triggers. But you may want to set a ‘tolerance’ of five failures.
If one of my users can’t pass a module after 5 tries, enroll them into a refresher course
This simple scenario can be accomplished by creating 2 event Triggers:
- Description: "Tick up ‘failed_submissions’ Course Variable"
When: Any User
Fails: A Graded Quiz
and: User Course Tracking Variable ‘failed_submissions’ is less than ‘5’
then: Set User Course Tracking Variable ‘failed_submissions’ = ‘+1’ - Description: "Enroll ‘failed_submissions’ (5) into easier course"
When: Any User
Fails: A Graded Quiz
and: User Course Tracking Variable ‘failed_submissions’ equals ‘5’
then: Enroll user into "Easier Course"
and: Disenroll user from "This Course"
and: set User Course Tracking Variable ‘failed_submissions’ = ‘0'
Another scenario you may want to consider is giving your clients a discount after so many successful course completions. Without Tracking Variables, you could give a discount after completing a specific course; but with Tracking Variables, you expect additional effort put forth from your user for the added initiative.
First you’re going to name a custom field - we’ll use custom 10 and call it "Repeat Customers"
Now we’ll create a Discount - "Discount all products by 25% Repeat Customers is ’True’
With these items in place, we’ll set up the event triggers. For the event triggers, we want to tick up a Master Tracking Variable every time the user passes a course. If the user has passed 3 courses, we want to set their "Repeat Customers" to "True" so they can take advantage of the discount.
So head into a course, then open up the Event Triggers area - create these two triggers:
- Description: "Tick up repeat_customer variable"
When: Any User
Has: Completed and Passed this Course
And: Users "Repeat Customer" does not equal "True"
Then Set: User Master Tracking Variable "repeat_customer" = +1 - Description: "Give repeat_customer discount"
When: Any User
Has: Logged into this Course
And: User Master Tracking Variable "repeat_customer" is greater than 2
Then Set: "Repeat Customer" = True
With these two triggers set up, you’ll want to import them into other courses. Now when a user completes 3 courses, they will have a permanent 25% discount on all their purchases. If your system is already using most or all of your custom fields, you can substitute the Custom 10 with a Usergroup.