Staying Connected with Axis UserConnect
Inside Axis LMS, you’re able to host a social network exclusive to your system’s users. UserConnect is a user-focused aspect of Axis that is intended to be a fun way for users to engage with each other, but also to provide them with tools to form groups and communities, customize their Axis Profile, and compete amongst themselves on the UserConnect Badge Leaderboard.
One of the biggest appeals of integrating UserConnect into the rest of your system is that it provides users a form of Live Chat; this allows users to message other online users in real time. And, with Admin-User account associations, Admins and Sub-Admins are also able to participate in Live Chat with the users of their system by going to their Communicate tab.
UserConnect, overall, really just helps users stay engaged with your Axis system; which increases the likelihood of repeat customers, and additional sales or higher employee retention.
Giving User Access to UserConnect
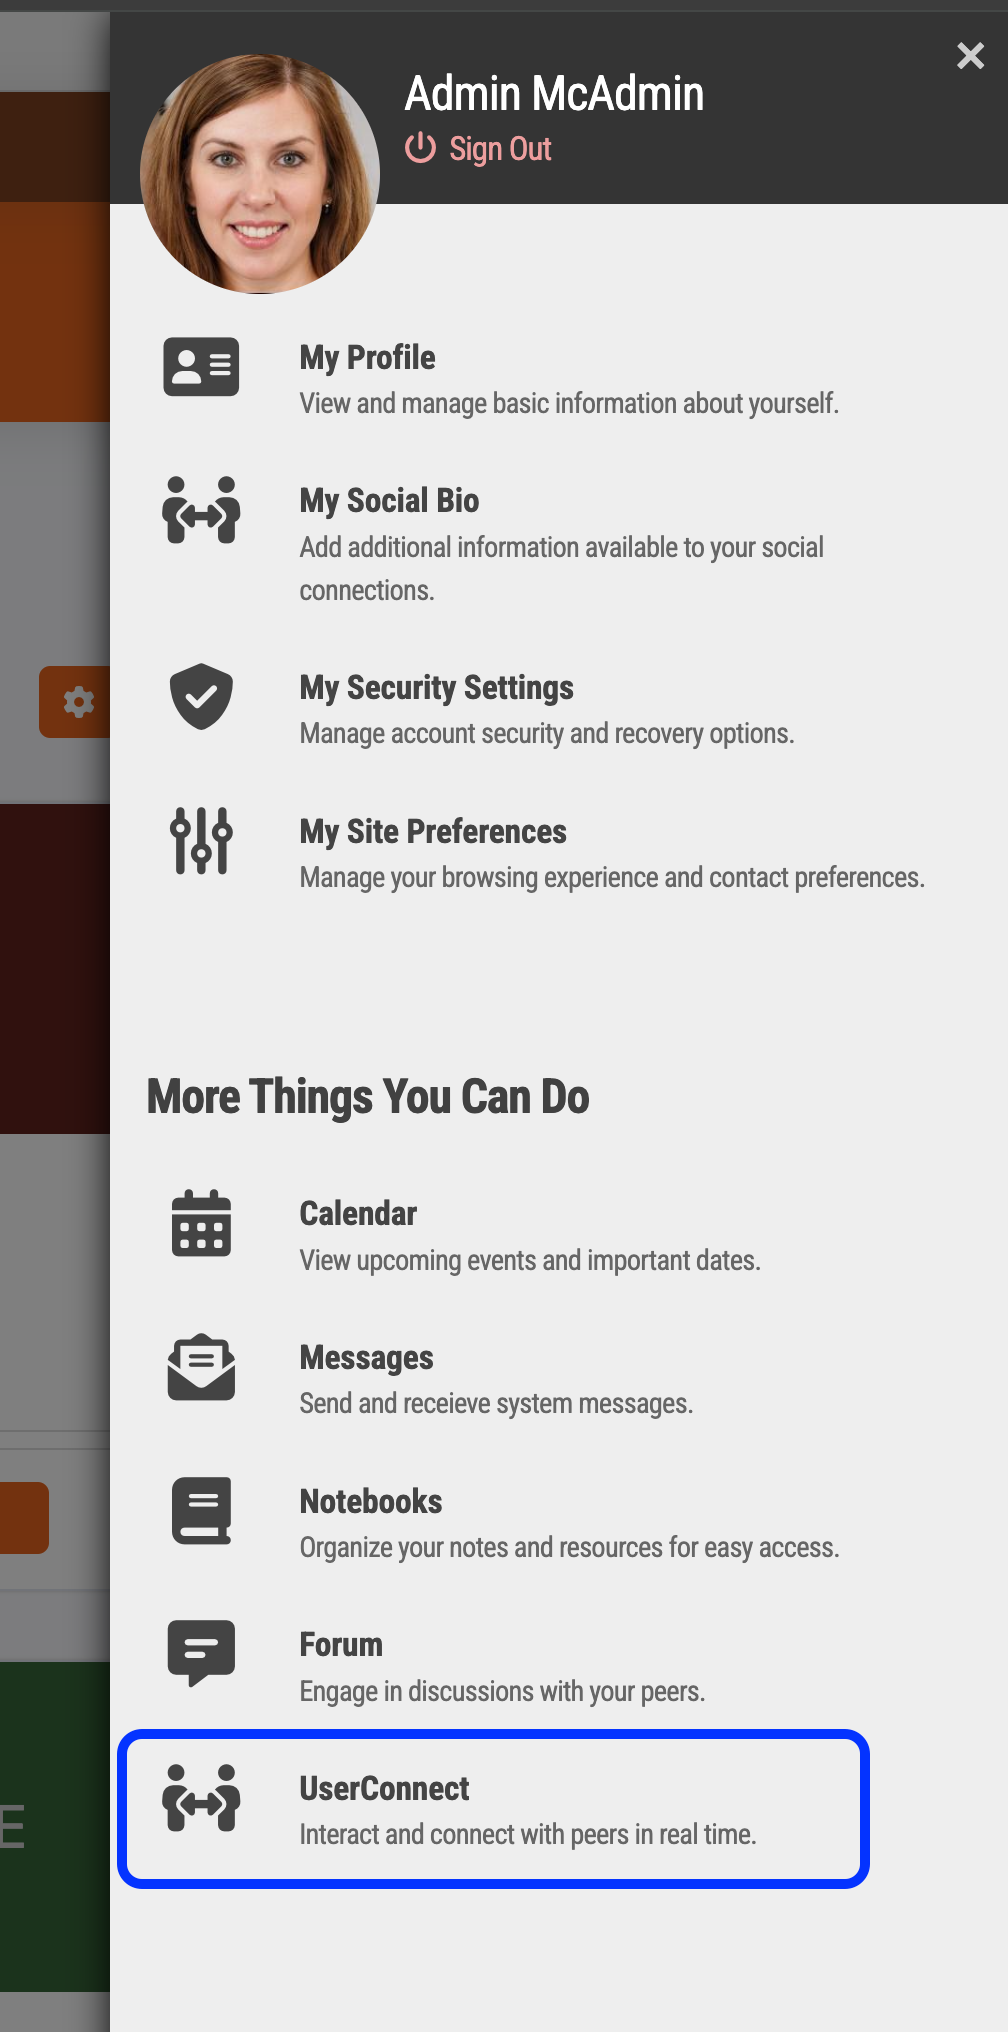
Users have access to the UserConnect area from their avatar at the top right, as well as the open chats and online users icons:

If accessing from the avatar, users can choose the UserConnect option from the menu:
Inside of UserConnect
As users opens up UserConnect, its simplistic design should help first time users feel a sense of familiarity. The first time a user accesses UserConnect, they will need to make sure that three fields are filled out: First Name, Last Name, and email Address. When a user updates these fields, the user’s profile (from the admin view) is also updated. Users can also fill out some optional fields: title, education, location, and DOB. They can link their account to other social networks, and also write a brief description in the "About Me" section.
After they’ve filled out a small bit of profile information, users will land on their main page, which is broken into two main areas: a central Feed - where posts made by all of their communities, groups, and connections are displayed; and a side menu - where users can access many of the different tools available within UserConnect.
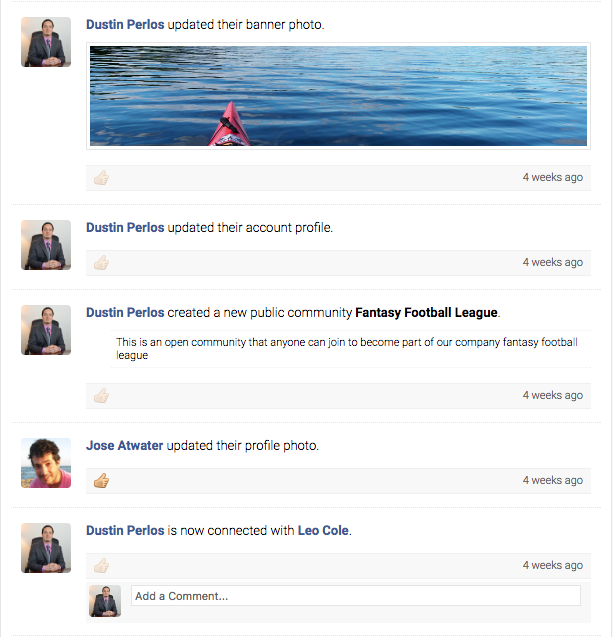
The main feed allows users to make posts of their own, which their connections can then interact with; replying, or giving it a thumbs up.
The tools are broken into 4 areas: Welcome, My Groups, My Communities, and My Apps.
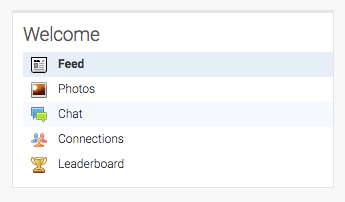
- Feed - clicking on this option will bring your users back to their main page.
- Photos - this option allows users to upload photos for their profile picture, banner, and images they’d like to share on UserConnect.
- Chat - this will bring up Live Chat in a separate window, which allows users to message other online users they’re connected with in real time,
- Connections - selecting this options allows users to view all the users they’ve formed connections with, as well as helping users create new connections based of their Courses, Communities, and an intelligent connection recommender.
- Leaderboards - Leaderboards brings up a list of the top users in the system in regards to the number of badges earned.
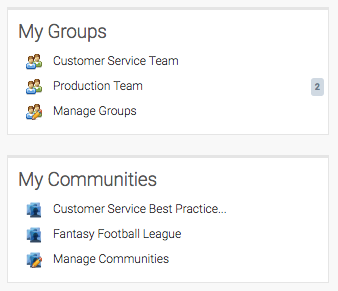
- My Groups - Groups are User-created collections of their connections. After creating and organizing their connections, the user will be able to select a Group from this area to pull up a feed of just users from these groups.
- My Communities - Communities are collections of users that users can be invited to join and participate in. After creating a Community, users can select it from this list to pull up just posts made to the Community page.
UserConnect Chatrooms
Axis LMS provides tools to create structured, reoccurring Instructor Led Programs as a core pillar of its training ecosystem. However, the scale of this toolset can be excessive, or entirely unnecessary, for smaller scale meeting requirements. By taking advantage of the Chatroom tools, any sized system is able to provide a form of live training and collaborating with their users, without having to touch the ILT toolset.
Initiating as Management
Accessible from most any page of the admin interface, you bottom toolbar has a set of icons in the bottom right. Among these, you're able to pull up a list of any users currently online. Selecting a user from this list brings up a series of interactions you can perform on this user. Among other tools, you will find the ability to invite the user to a Text Chat or a Video Chat.
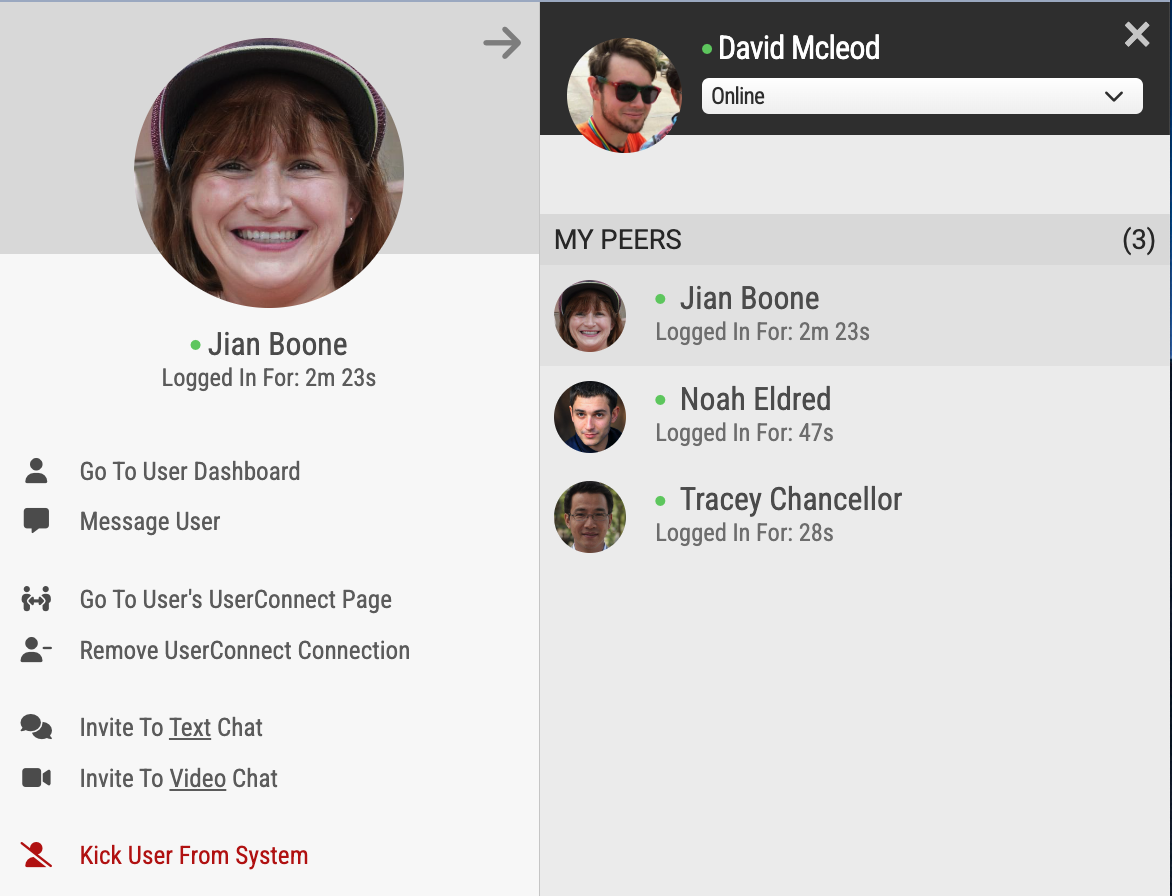
When a user is invited to either of these chats, a prompt will appear on the user's page, allowing the user to accept or decline the invite.
Initiating as a User
While Management-to-User chat is always an options, not all organizations want their users to be able to initiate this kind of interaction. If enabled a user can open their chat room manager from the top right of any page of the Learning Portal.

If you don't want users to be able to initiate or create their own chatrooms, review your UserConnect Learning Portal settings, accessible from System > Site Design > Learning Portal > UserConnect > UserConnect Live Settings
The Chatroom Manager
From within the chatroom manager, users can access chat rooms they've previously participated in, or create new chat rooms. Once within a chat root, additional online users can be invited to participate in that chat room - they'll see a notification indicator on the chatroom launcher. Invited Users can then accept, or decline the invitation; and they can start chatting in the chat room.
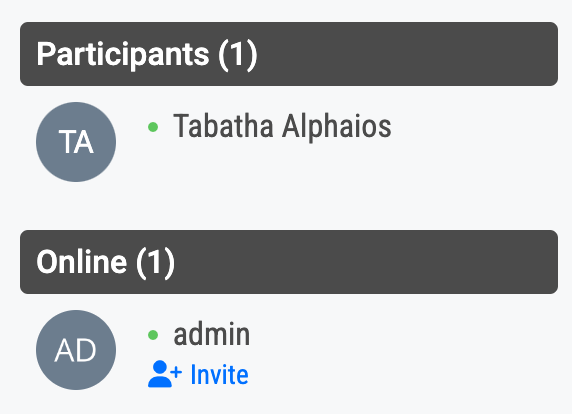
Chat rooms can also be used as video chat rooms, typically capable of hosting about 25 video participants at a time. With this functionality, admins are able to provide smaller scale Instructor Led meetings, without the full scope of the ILT toolset. This does mean many of the tracking tools associated with ILT are also not available via this method; but it is a quick way for any sized system to be able to provide some form of Live Training to their users.
Chatroom Events
Now that we've covered the basics of Chatrooms, now you can begin incorporating this social functionality into something more structured. Through UserConnect, this structure is delivered via "Events". Events are scheduled through UserConnect, and the Event host is able to dictate on the Event setup how the Event is being held (a chatroom, a video chatroom, in person, etc.), and who is capable of seeing the Event.
Events can be hosted by anyone participating in your UserConnect ecosystem, but for purposes of delivering a form of controlled training, we'll assume an administrator or manager is scheduling this Event.
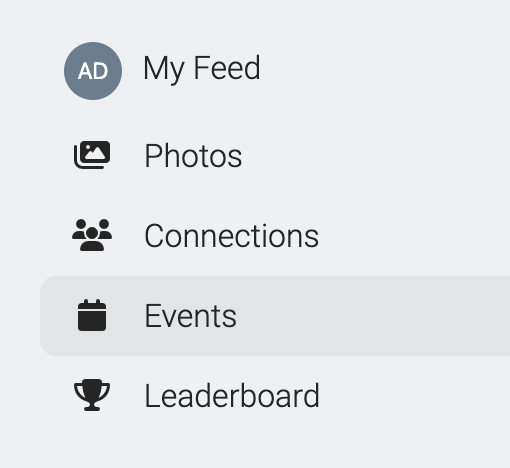
After opening up UserConnect from the Learning Portal, select the "Events" option from the left-side navigation. This will bring you to a list of your Hosted Events, Upcoming Events, and an Event Discovery. For now, select "Create Event" from the top right.
When creating your Event, you will have some standard fields to fill out, associated with the Event; there are not a lot of redundancy in the fields provided, as they all relay important information to attendees. For purposes of delivering structured live training, you'll most likely want to select a "Virtual (Video Chat room)" as the Event Location, and fill out the appropriate date and time.
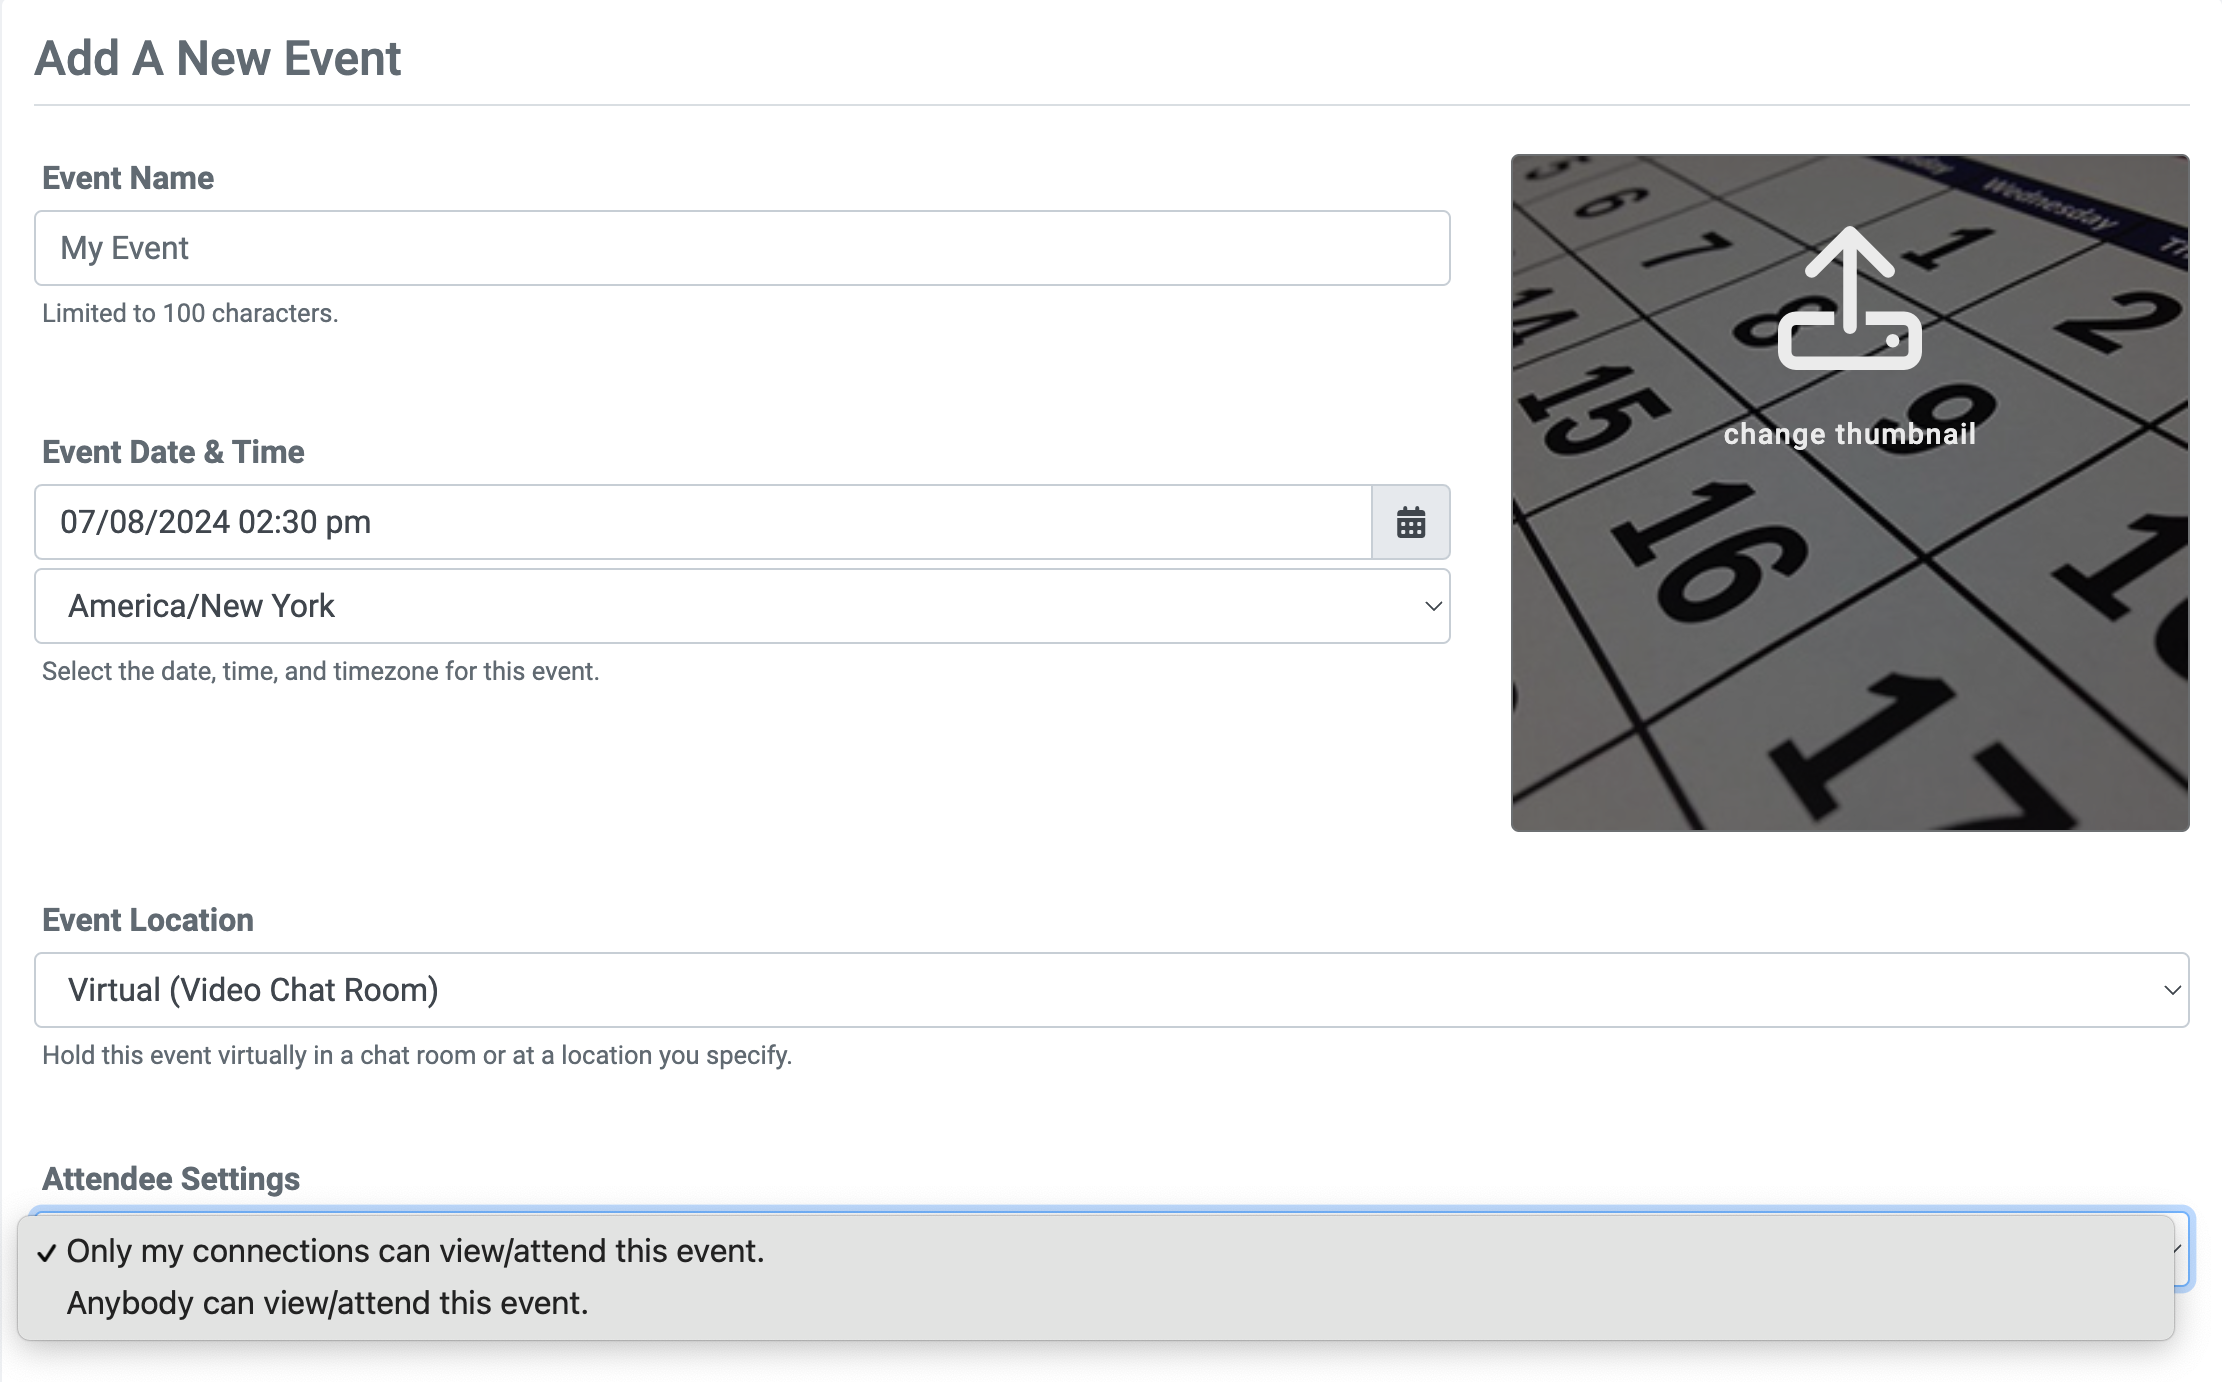
Under Attendee Settings, select who is capable of signing up to attend this event; for virtual meetings, it's reccommended to have some filtering, for the benefit of the attendees.
After saving your meeting, your meeting will now appear under your "My Events" tab. Depending on the Attendee Settings you've filled out for the meeting, other users will be able to find your meeting under the Discovery section.
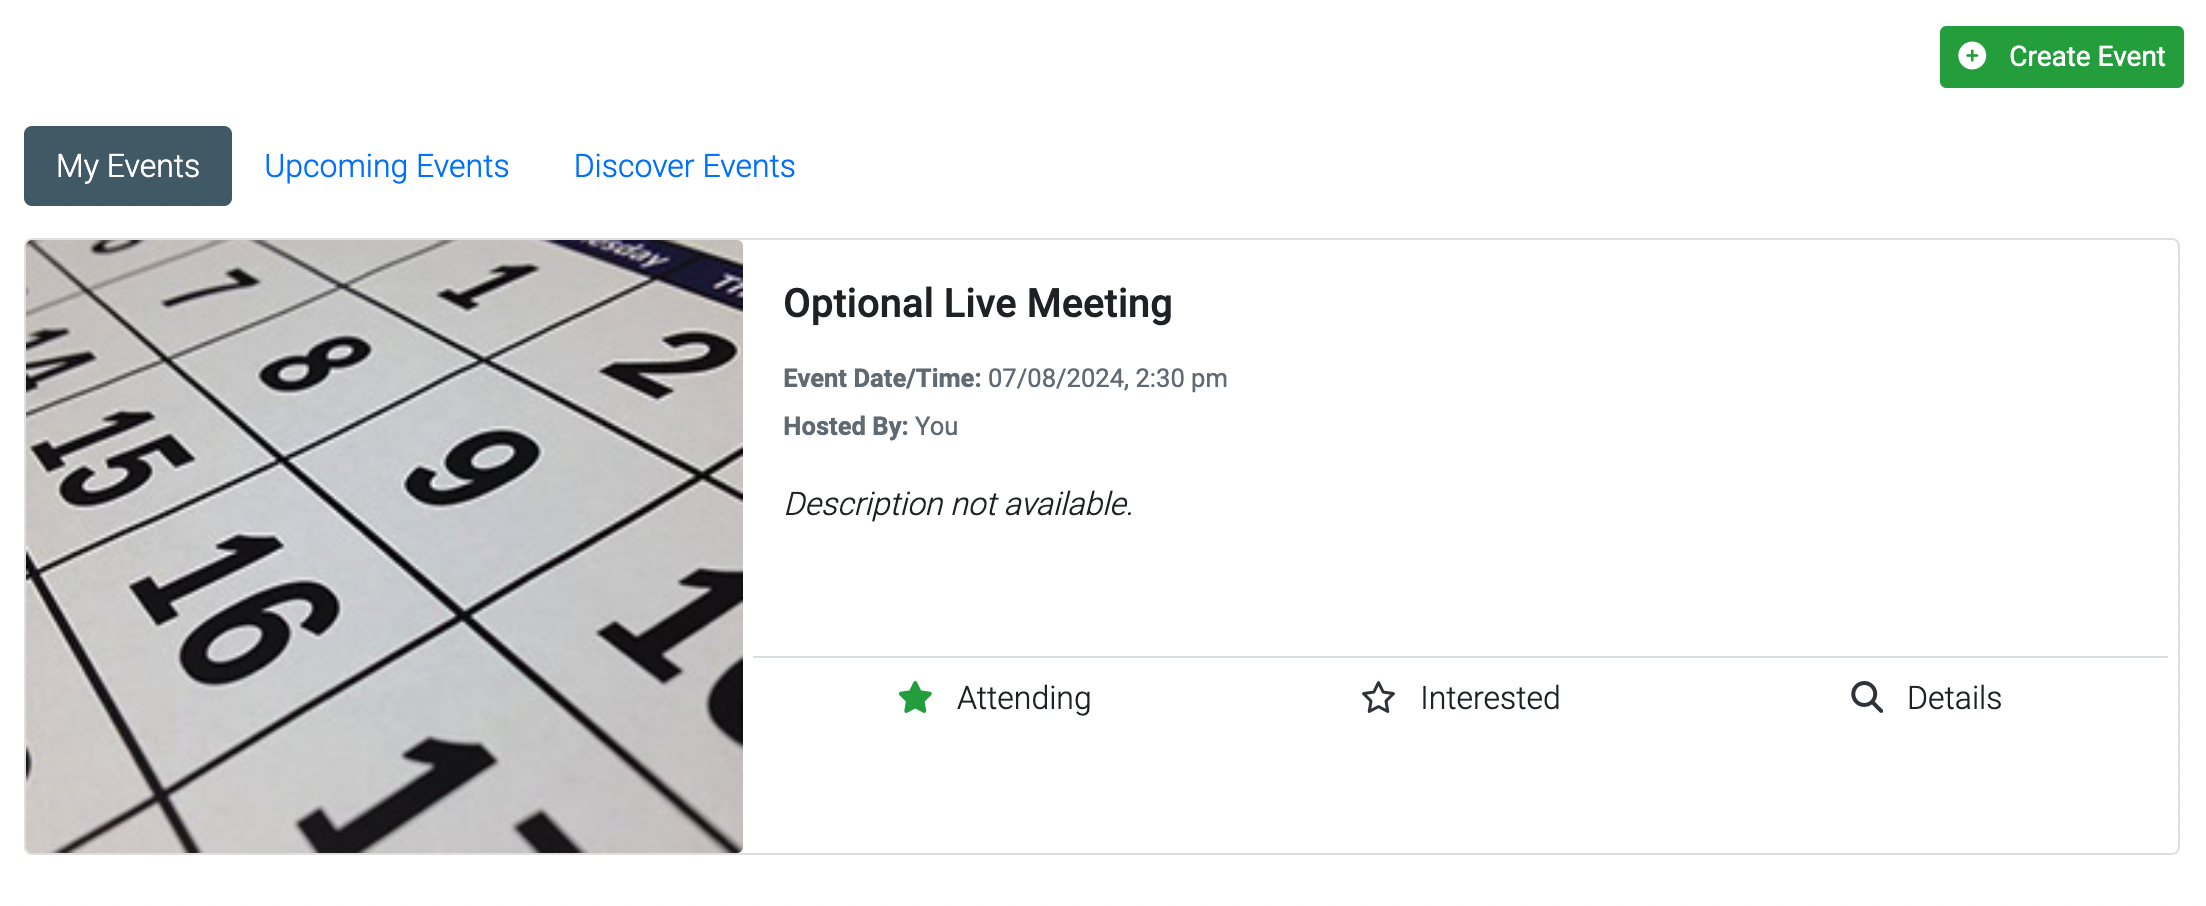
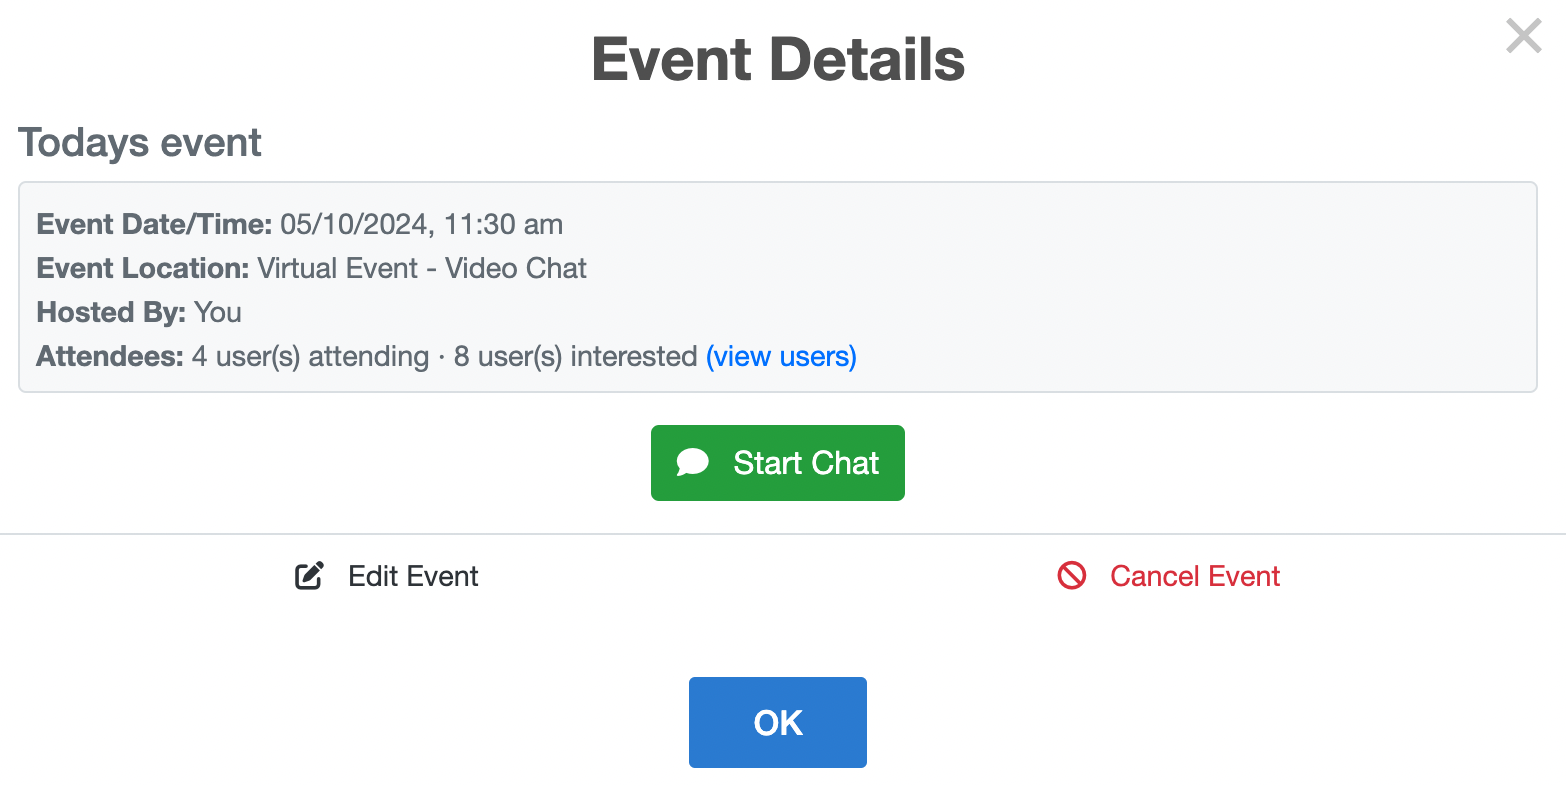
When your Event is scheduled to start, view the Details on your Event, and select the "Start Chat" button to start the video chat.
