Build video, audio and document resource libraries – quickly and easily in Axis LMS.
One of the sets of portal widgets you can add in Axis LMS is Library Widgets. These widgets can be placed in both the learning portal website (for your users to view) and the account website (for visitors to view).
With the library widgets, you can easily provide your users with different reference libraries. These libraries can consist of Audio, document and video files. You can also add a full resource library that will list multiple resource types in a single view.
There are a couple different things that you can do to make these resources your own. You have the ability to assign a specific icon as well as a description to each item in the library. Optionally, you can show the listing as tiles or as a list, and whether or not to display a search bar to filter the displayed results.
Building a Resource Library
Introduced with the Axis LMS 10.3 update was the concept of a Resource Library, which can loosely be described as a group of MP3s, PDFs, and MP4s that can be shared with your users through the Learning Portal.
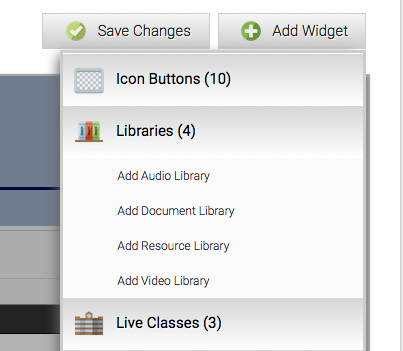
Resource Libraries are added onto your Learning Portal using a widget. There are four different variations – one for each resource type, and one to list them all. You can add them on to your Pages by going to Site Design > Learning Portal Designer | Website Designer > Edit [page] > Add Widget > Libraries.

From the screenshot above, you can see the four different libraries that can be added.

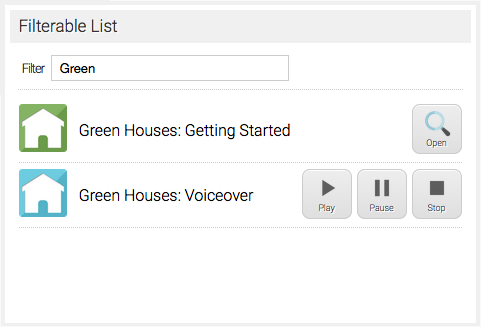
After adding your widget, you can then later adjust display settings for the library, such as Tile View, a search box, and and what types of files to display.
After you’ve added the widget to your page, you’ll need to edit the widget to select which library to populate the widget. And if you haven’t created any libraries yet…
Creating a Library
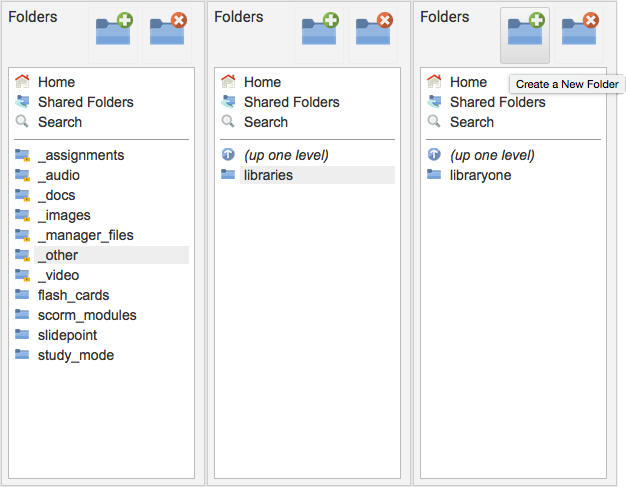
Creating a library for your widget to reference is incredibly easy, as it is using your existing files area. The first step if to build the library’s folder [System > Files > File Manager > /_other > /libraries].
Once you’re within the /libraries folder (which you may need to create if it doesn’t already exist), the next step is to create a folder for your resource library widget. Each folder you create within the libraries folder will be a selectable library for your widget.

After the library folder is created, you’ll want to populate it with content (MP4s, MP3s, PDFs). Each file type does have its own default icon in place, but if you’d like to substitute this for your own, all it takes is one additional file.
To replace the default icon for an individual file, you’ll want to upload a PNG file with the same name as the associated file. For example, if you’ve uploaded an MP4 titled “How_to_be_a_Person.mp4” and want to use your own image for the resource library, the file you would upload to this same folder would be name “How_to_be_a_Person.png”.
This concept of using a mimicking a file name can also be used to set a description for your different resources. When a user hovers over your resource “How_to_be_a_Person”, you’d like a text description to appear, you can upload a TXT document of the same name (“How_to_be_a_Person.txt”) with into the same library folder. Whatever text is within that file will be displayed when a user hovers over your “How_to_be_a_Person” resource.