Using Page Groups For Your Axis LMS Websites

Within Axis LMS, you are able to restrict what pages a user is able to view based on what user groups they are a member of. This enables you to create different 'User Portals' based on the user group each user is a member of.
Before you get started, you will need at least one user group.
Once your system has at least one user group, you’ll want to begin assigning which page group each page group is associated with.
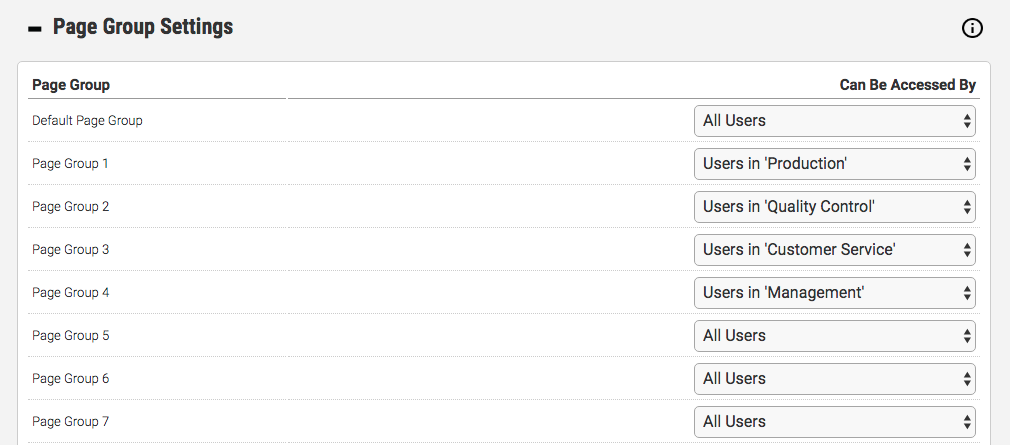
To assign a user group to a page group, go into your Learning Portal Settings (System > Site Design > Learning Portal Website > Edit Learning Portal Settings [gear icon]) and then expand the Page Group Settings.

Depending on your plan, you can assign from 10 to 100 different page groups, essentially giving you the ability to set up 10 to 100 different user portals to different user groups.
Editing Page Group Pages
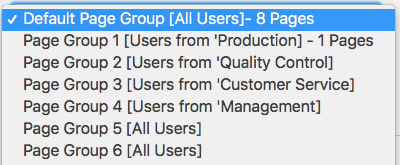
Because of the large amount of pages you are likely to amass, you are able to sort your pages by page group/portal so that you always know who will see the pages in that group.

Page Group Defaults
